How to Apply Liquid Blush for a Seamless Finish
You’ve seen the stunning results of liquid blush everywhere: a dewy, seamless glow that looks like it’s coming from within your skin. While the finish is undeniably beautiful, mastering the application can feel like a challenge. How do you get it to blend perfectly without moving your foundation? How do you make it last all day without fading? It’s all in the technique. This guide moves beyond the basics to give you the pro tips you need for a flawless application. We will show you how to apply liquid blush for a long-lasting finish, covering everything from placement for your face shape to setting it properly.
Key Takeaways
- Prep is key and tools matter: For a seamless finish, always start with smooth, hydrated skin. Use your fingertips for a natural melt, a damp sponge for a sheer glow, or a dense brush for more controlled color.
- Start small and tap to blend: Liquid blush is very pigmented, so begin with just a few dots. Use a gentle tapping motion to press the color into your skin, which avoids streaks and creates a natural, second-skin finish.
- Lock in your look for lasting color: To keep your blush from fading, apply it in thin layers and set it with a translucent powder. A final spritz of setting spray will meld all your makeup together for a glow that lasts all day.
What Is Liquid Blush?
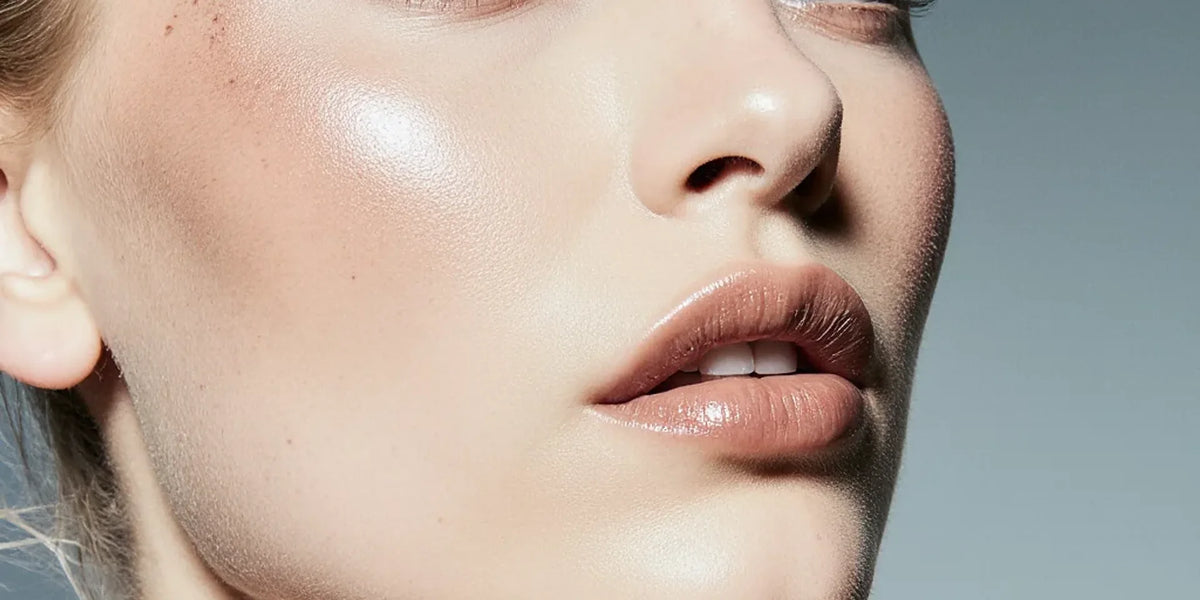
If you’ve ever wanted that perfect, lit-from-within glow, liquid blush is your answer. It’s a fluid, highly pigmented color for your cheeks that melts into your skin for a natural, healthy-looking flush. Unlike other formulas that can sit on top of the skin, liquid blush becomes one with it, creating a seamless finish that looks like your own skin, but better. It has become a favorite for good reason; it’s incredibly versatile and gives you a fresh, dewy look that’s hard to achieve with powders.
The beauty of liquid blush lies in its ability to mimic the natural flush of the skin. Think about that subtle warmth your cheeks get after a brisk walk, that’s the effect we’re going for. It’s perfect for anyone who loves a minimalist makeup look or wants to add a touch of radiance without looking overly made up. Because the formula is so blendable, you have complete control over the intensity, from a sheer wash of color to a more vibrant pop. It’s the secret to achieving that effortless, radiant complexion we all crave.
Liquid vs. Powder Blush
The main difference between liquid and powder blush comes down to the finish. Powder blush is a classic for a reason; it’s great for absorbing oil and providing a matte look. However, it can sometimes appear a bit flat or even cakey, especially if you have dry skin. Liquid blush, on the other hand, is all about creating a radiant, skin-like finish. There’s been a huge consumer shift toward 'skin-first' makeup finishes, and liquid formulas are leading the charge. They blend seamlessly without leaving harsh lines, giving your cheeks a hydrated, plump appearance that looks incredibly natural and fresh.
Liquid vs. Cream Blush
Liquid and cream blushes are often grouped together because both provide a dewy, natural-looking finish. The biggest distinction is texture. Cream blushes are typically thicker and waxier, while liquid blushes have a lighter, more fluid consistency that can feel more comfortable and weightless on the skin. While both are blendable, liquid formulas are often easier to build up from a sheer tint to a more intense color. This makes them a fantastic option for anyone who wants a versatile product that can be customized for a truly natural look. Our Nude Envie blush gives you that perfect, buildable color every time.
Why Choose Liquid Blush for a Natural Glow?
Choosing liquid blush is all about achieving that coveted "second-skin" look. Because the formula is so lightweight, it doesn’t settle into fine lines or accentuate skin texture, making it a beautiful choice for all skin types, including mature skin. It imparts a genuine glow that looks like it’s coming from your own skin, not from a product sitting on top of it. If your goal is a fresh, youthful appearance that enhances your natural beauty, liquid blush is the perfect tool. It’s the easiest way to add a healthy, believable flush of color to your complexion for a radiant finish that lasts.
Your Essential Tools for Applying Liquid Blush
Getting that perfect, natural flush from a liquid blush often comes down to your application method. While the formula itself is key, the tools you use can completely change the final look. You don’t need a drawer full of expensive equipment; in fact, you probably already own everything you need. The three best tools for applying
The Best Brushes to Use
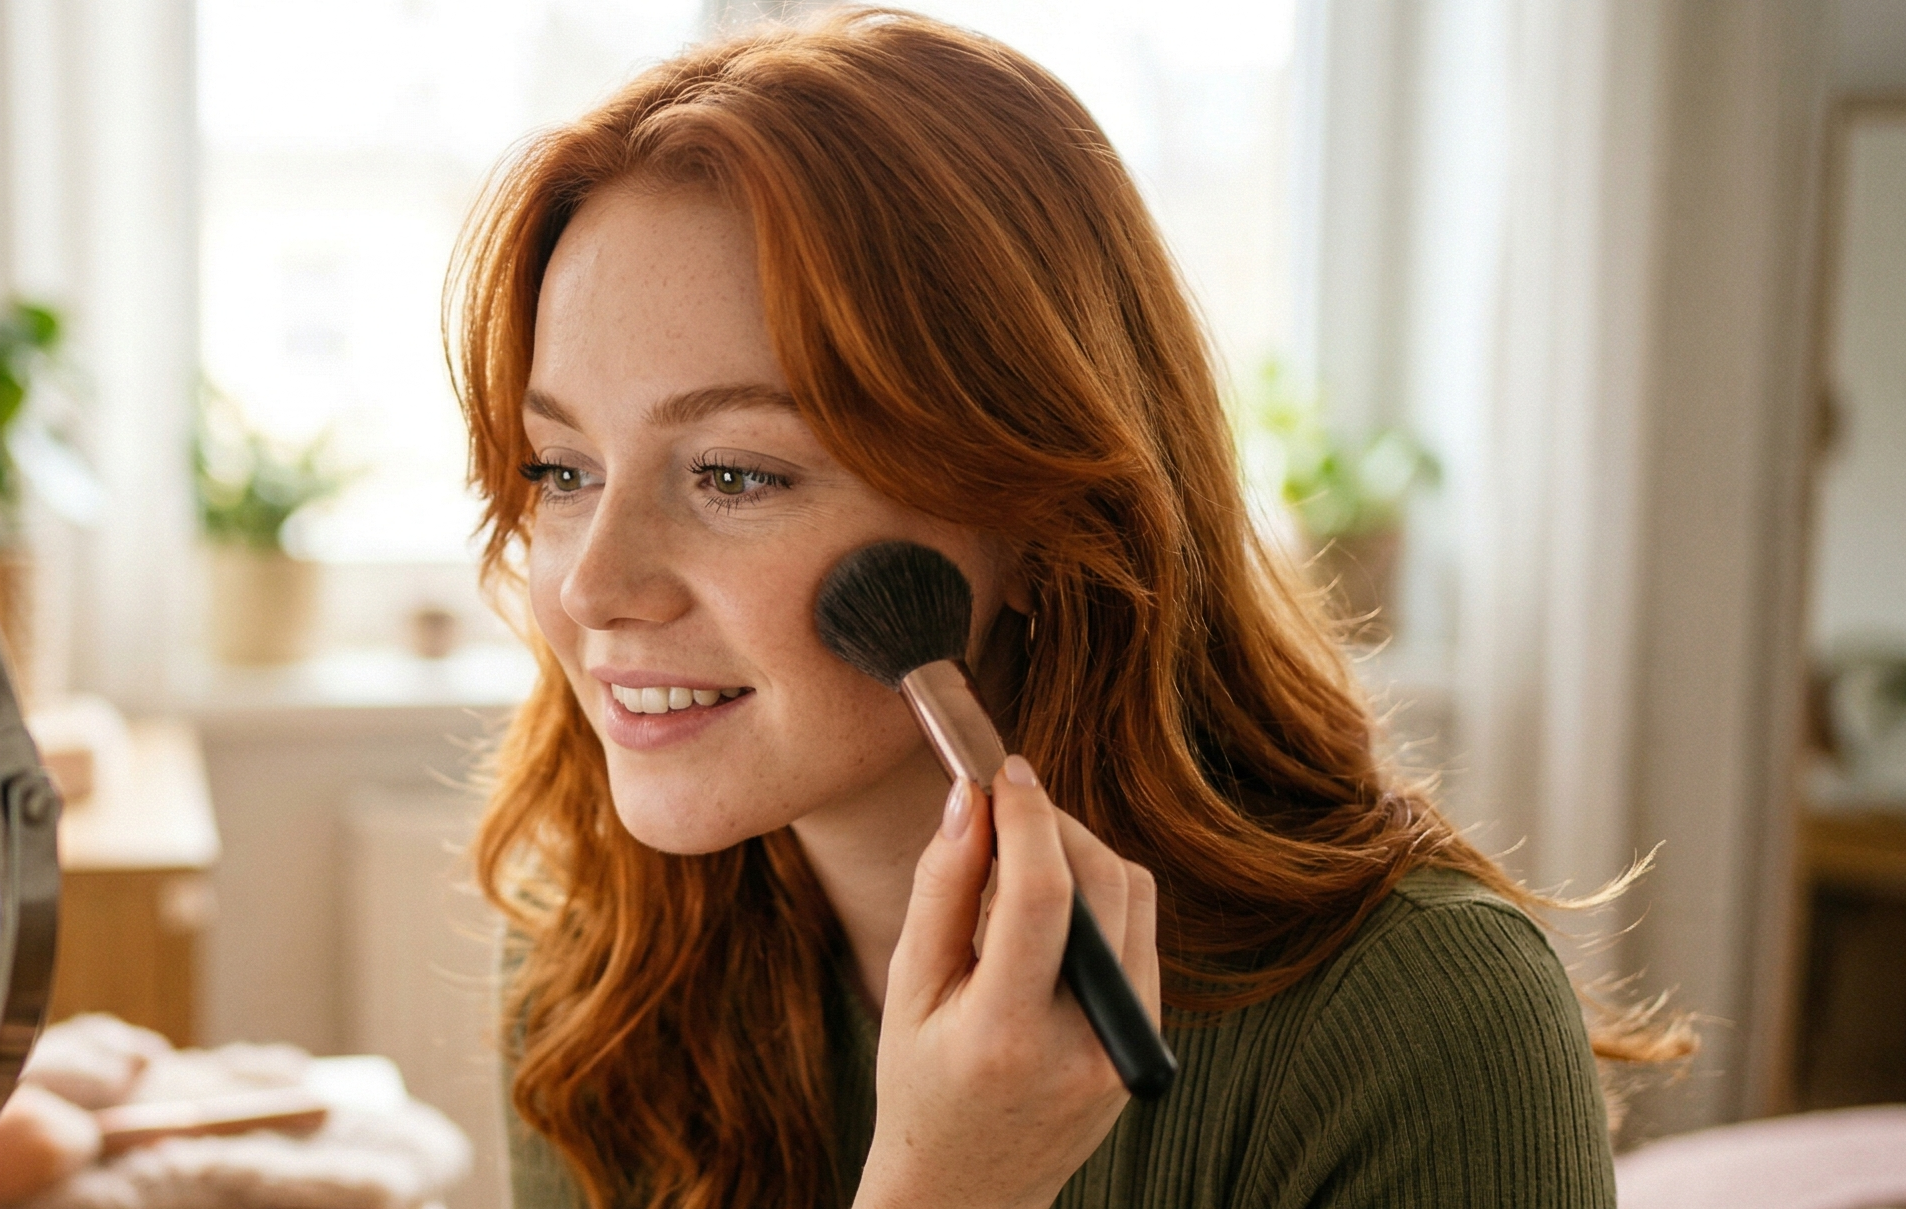
If you prefer a more controlled and pigmented application, a brush is your best friend. A synthetic, dense brush works beautifully because the bristles won’t soak up too much product. An angled blush brush helps you place the color precisely, while a stippling brush is fantastic for tapping the product into the skin for an airbrushed effect. When you apply, dot the liquid blush onto your cheeks, then use the brush to gently tap and blend the color out toward your hairline for a seamless finish.
Sponges and Blending Tools
For a sheer, dewy finish that looks like your skin is glowing from within, a damp makeup sponge is the way to go. This tool is especially great for beginners because it makes blending almost foolproof. Simply run your sponge under water, squeeze out the excess, and then use it to bounce the product onto your skin. The moisture helps sheer out the blush for a very natural look. This stippling motion presses the product into your skin rather than moving it around, preventing streaks and creating a soft, diffused wash of color.
Applying with Your Fingertips
Never underestimate the power of your own fingertips. This is often the quickest and most intuitive way to apply liquid blush. The natural warmth from your fingers helps melt the product, allowing it to blend seamlessly and become one with your skin. Just dot a small amount of blush onto the apples of your cheeks and use your ring finger to gently tap and pat the color into place. The patting motion blends the edges beautifully without lifting your foundation, giving you a natural, second-skin finish that’s perfect for everyday makeup.
How to Prep Your Skin for Liquid Blush
The secret to that coveted, natural-looking flush from a liquid blush isn’t just in the application; it’s all in the prep work. Because liquid formulas are designed to melt into your skin for a seamless, second-skin finish, the canvas you’re working with matters. A little bit of prep ensures your blush blends beautifully, looks vibrant, and lasts all day without getting patchy or streaky. Think of it as setting the stage for your makeup to truly shine. Let’s walk through the simple steps to get your skin ready for a flawless glow.
Perfecting Your Base Makeup
Before you even think about adding color, focus on your base. A smooth, hydrated canvas is non-negotiable for liquid blush. Start by gently exfoliating to slough away any dry patches that could cause the blush to cling or look uneven. Follow up with a good moisturizer to plump and hydrate your skin, creating a supple surface for makeup. If you wear foundation or a tinted moisturizer, apply it before your blush. This creates a uniform base and gives the liquid blush something to blend into, preventing it from looking blotchy. This simple routine ensures your Enlighten Cheek & Lip + Eye & Cheek tint will glide on effortlessly.
Find the Right Shade for Your Skin Tone
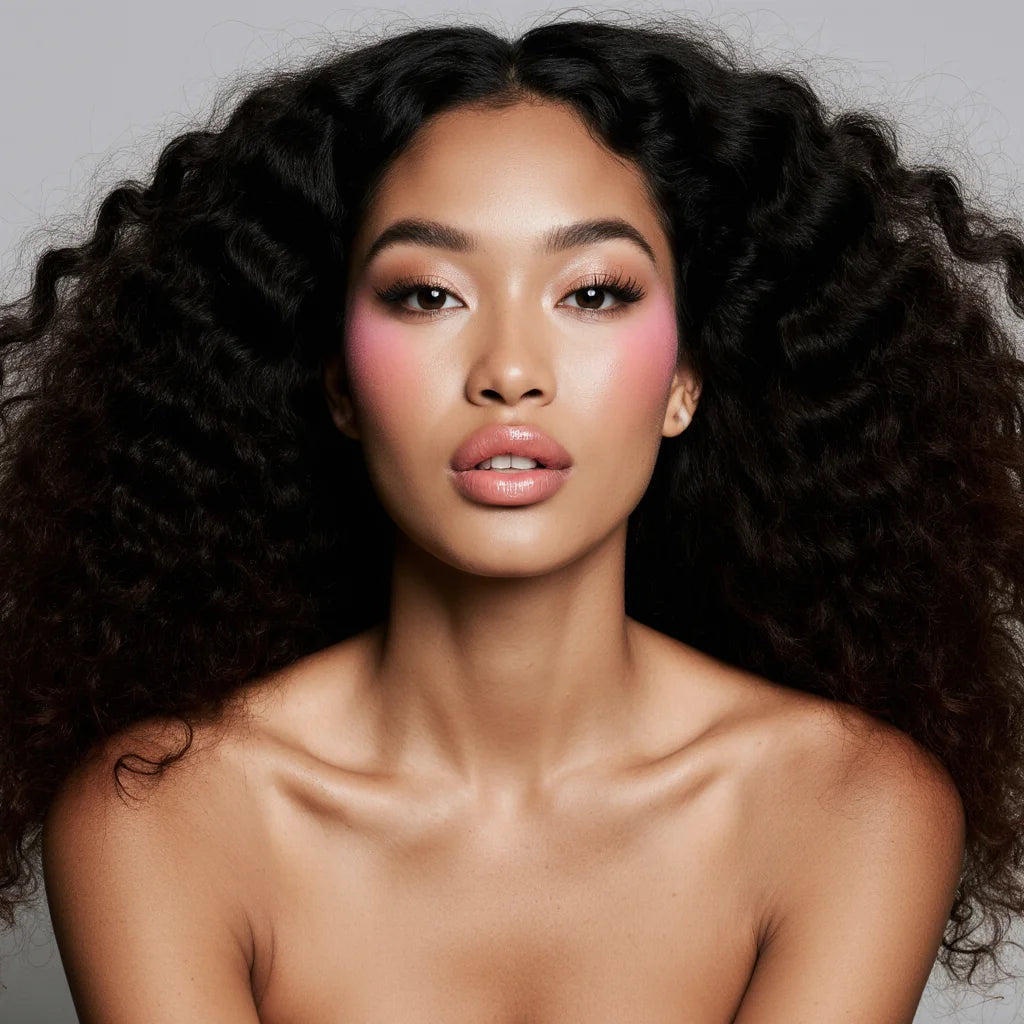
Choosing the right shade is key to achieving a believable, lit-from-within glow. The goal is to mimic the color your cheeks naturally turn when you’re flushed. For fair skin, soft pinks and light peaches work beautifully. Medium skin tones come alive with rosy pinks and warm mauves. Deeper skin tones look stunning in rich berries and vibrant corals. The trend toward "skin-first" makeup is all about enhancing what you have, so finding a shade that complements your undertones makes all the difference. If you're unsure where to start, a virtual beauty consultation can offer personalized recommendations to help you find your perfect match.
Create a Smooth Canvas for Application
Patience is a virtue, especially when it comes to skin prep. After applying your moisturizer, primer, or foundation, give it a minute or two to fully absorb into your skin. Applying liquid blush onto a wet or tacky base can cause it to slide around, sheer out too much, or mix with the products underneath, creating a muddy look. You want the surface to be smooth and slightly hydrated, but not wet. This allows the pigment to adhere properly and blend seamlessly. This step is crucial for achieving that beautiful "second-skin" finish where the blush looks like a natural part of your complexion, not just makeup sitting on top of it.
How to Apply Liquid Blush: A Step-by-Step Guide
Applying liquid blush is all about technique. Once you get the hang of it, you’ll be able to create a radiant, natural-looking flush that looks like it’s coming from within. The key is to work with the formula, not against it. Let’s walk through the simple steps to get a flawless application every single time.
Find the Perfect Placement
Where you place your blush can completely shape your face. For a classic, youthful glow, smile gently and apply the blush to the apples of your cheeks, which are the roundest parts that pop up. If you’re aiming for a more sculpted, lifted appearance, concentrate the color higher up on your cheekbones, blending it upward toward your temples. This simple shift in placement can make a huge difference. Experiment with both techniques to see which one you love most. Finding the right placement is the first step to mastering your look with a beautiful liquid blush.
Use the Right Amount
Liquid blushes are known for their rich pigmentation, so a little goes a very long way. The golden rule is to start with less than you think you need. Begin by placing one or two small dots on your cheek. You can always add more color, but it’s much harder to take it away once it’s there. Applying a small amount ensures you have total control over the intensity, allowing you to build the color gradually for a soft, believable flush. If you ever need personalized tips on how much product to use for your desired look, a virtual beauty consultation can be incredibly helpful.
Blend Quickly Before It Sets
Time is of the essence with liquid blush. These formulas are designed to set quickly for long-lasting wear, which means you need to blend them out almost immediately after application. To avoid patchiness, work on one cheek at a time. Apply your dots of blush and then blend right away using your preferred tool. Your fingertips can warm up the product and melt it into the skin, a damp beauty sponge will give you a seamless, airbrushed finish, and a dense brush offers precise control. The goal is to diffuse the edges completely before the blush dries down.
How to Get a Natural, Seamless Finish
The secret to that "lit-from-within" glow isn't just about finding the perfect shade of liquid blush; it's all in the application. How you apply your blush can make the difference between a natural, seamless flush and a look that feels a bit too obvious. The goal is for the color to look like it’s truly a part of your skin.
Getting this right is easier than you think. It comes down to a few simple techniques that makeup artists swear by. By focusing on how you blend, how much product you use, and how you correct any little missteps, you can achieve a flawless finish every single time. Let’s walk through the three key steps to mastering your liquid blush application for a beautiful, natural look.
Tap, Don't Drag
One of the most common mistakes when applying liquid blush is swiping or dragging it across your cheeks. This motion can disturb the foundation and concealer underneath, leading to a patchy or streaky finish. Instead, adopt a gentle tapping or "stippling" motion. This technique presses the pigment into your skin without lifting your base makeup.
Whether you’re using your fingertips, a damp beauty sponge, or a dense brush, lightly tap the product onto the apples of your cheeks, blending it upward and outward. This helps the blush melt seamlessly into your skin, creating a soft, diffused wash of color that looks completely natural. It’s a small change in technique that makes a huge impact on your final look.
Build Your Color Slowly
Liquid blushes, like our Cream Blush, are known for their rich pigmentation, which means a little goes a very long way. It’s always easier to add more color than to take it away. Start with one or two small dots on each cheek. Blend them out completely before deciding if you need more. This gradual approach gives you total control over the intensity.
If you happen to apply a bit too much, don't panic. You can continue blending with a clean sponge to diffuse the color. Another great trick is to take the brush or sponge you used for your foundation (with a tiny bit of leftover product on it) and lightly dab over the blush. This will soften the intensity and ensure the edges are perfectly blended for a flawless finish.
Fix Streaks or Too Much Blush
Even with the most careful application, you might sometimes end up with a streak or a bit more color than you intended. Luckily, this is an easy fix. If you notice any harsh lines, simply take your damp sponge or brush and continue to gently tap and blend the edges until they disappear. Patience is key here.
If the color is still too bold, you have a couple of options. You can stipple a small amount of your foundation over the area to tone it down. Another professional tip is to use a light dusting of translucent setting powder. The powder will not only set your blush but also help to blur and soften the color slightly, giving you a more subtle, airbrushed effect. For personalized tips, a virtual beauty consultation can offer guidance tailored to your specific needs.
How to Make Your Liquid Blush Last All Day
You’ve perfected your application and have a beautiful, dewy glow, but how do you keep it from fading by lunchtime? It’s a common frustration to see that perfect flush disappear just a few hours into your day, especially after you’ve spent time getting it just right. The good news is that making your liquid blush last is entirely possible with a few simple adjustments to your routine. The key is to properly set and lock in the liquid formula so it doesn't slide, fade, or become patchy as the hours wear on. Think of it like priming a wall before you paint; a little preparation and a few finishing touches make all the difference in the final result and its longevity.
By layering products thoughtfully, you can create a durable finish that looks just as fresh in the evening as it did in the morning. These techniques are not complicated and don't require a complete overhaul of your makeup process. Instead, they focus on small, impactful steps that help your blush withstand humidity, long days, and everything in between. With the right approach, you can keep your complexion looking vibrant and healthy from start to finish, ensuring your radiant glow stays put.
Set It with Powder
One of the most effective ways to extend the life of your liquid blush is to set it with a powder. This step is especially helpful if you have oily or combination skin, as it helps control shine and prevents the liquid from breaking down. After blending your liquid blush, take a large, fluffy brush and lightly sweep a translucent setting powder over the area. For an added layer of color and staying power, you can use a powder blush in a similar shade. Just be sure to use a light hand; the goal is to set the product, not cover up that beautiful, dewy finish you just created.
Layer for Longer Wear
Liquid blush is wonderfully buildable, and you can use this to your advantage to create a longer-lasting look. Instead of applying one heavy layer, try applying a sheer layer first. Blend it out completely, wait a moment for it to set, and then apply a second thin layer on top. This layering technique helps the pigment adhere to your skin more effectively and builds a more durable wash of color. It also gives you more control over the intensity, allowing you to create a subtle flush or a more vibrant pop while ensuring the finish remains seamless and natural-looking.
Lock It In with Setting Spray
Think of setting spray as the final seal for your makeup. Once you’ve applied your liquid blush and set it with powder, a few spritzes of a quality setting spray will lock everything in place. It works by melding all the layers of your makeup together, from foundation to blush, creating a cohesive and durable finish that resists fading and transferring. Hold the bottle about eight to ten inches from your face, close your eyes, and mist it lightly over your skin. Let it air dry, and you’ll have a vibrant, fresh-faced glow that truly lasts all day.
Common Liquid Blush Mistakes to Avoid
Applying Too Much, Too Late
Liquid blushes are famously pigmented, which is great for color payoff but can be tricky if you're heavy-handed. The number one rule is to start with less than you think you need. Applying too much product right away is a fast track to an unnatural look, and it’s much harder to sheer out a dark patch than it is to build up color. Begin with just two or three small dots on the apples of your cheeks. You can always add another dot if you want more intensity. This approach gives you complete control and ensures your blush looks like a natural, gentle flush rather than a stark stripe of color.
Placement and Blending Blunders
Where you place your blush and how you blend it makes all the difference. A common mistake is blending too slowly. Most liquid formulas dry down quickly, so you need to work fast to diffuse the color before it sets into a stubborn patch. Another blunder is using the wrong motion. Dragging or rubbing the blush can lift the foundation underneath, creating streaks. Instead, use light, tapping motions with your fingertips or a damp sponge. This technique presses the product into your skin for a seamless melt. For personalized advice on placement, a virtual beauty consultation can help you find the perfect spot for your face shape.
Using Products That Don't Mix
Have you ever applied a product only to have it pill up into tiny balls? This often happens when your skincare or base makeup isn't compatible with your liquid blush. To avoid this, make sure your moisturizer and primer have fully absorbed into your skin before you start your makeup routine. A tacky or wet base can cause the blush to apply unevenly. It’s also helpful to use products with similar bases, like a water-based foundation with a water-based blush. Creating a cohesive routine with products designed to work together, from your eye makeup to your blush, is key to a flawless finish.
Pro Tips to Perfect Your Technique
Once you have the basics down, you can start playing with different techniques to really make your liquid blush work for you. The beauty of liquid formulas is their versatility. You can sheer them out for a barely-there wash of color or build them up for a more noticeable flush. It’s all about understanding the formula and knowing how to place it to best flatter your features.
Think of these tips as your next-level guide to liquid blush. We'll cover how to work with different formulas, create custom shades, and apply blush based on your unique face shape. These simple adjustments can make a huge difference in your final look, helping you achieve that seamless, radiant glow every single time. With a little practice, you’ll be applying liquid blush like a pro, creating looks that are perfectly tailored to you.
Master Different Formulas
Liquid blush is celebrated for the natural, second-skin finish it provides. It melts into your skin, creating a fresh, dewy look that’s perfect for achieving that "no-makeup" makeup vibe. Because of its texture, it’s incredibly user-friendly, even if you’re new to liquid formulas. You can easily apply it with just your fingertips, warming the product up and pressing it into your cheeks for a believable flush. Our Enamor Blush is designed to give you that radiant, lit-from-within glow that looks like your skin, but better. It’s the easiest way to add a healthy, vibrant touch to your complexion.
Mix and Customize Your Perfect Shade
One of the best things about liquid blush is how easily you can customize it. Don't be afraid to play makeup artist and mix different shades together on the back of your hand to create your perfect, unique color. This is a great way to adjust your blush to match your look or the season. Liquid blush is also wonderfully multi-purpose. Try dabbing a small amount onto your lips and blending it out for a soft, natural lip tint. This creates a beautiful, cohesive look where your lips and cheeks are in perfect harmony. You can even build your own collection of complementary shades to have on hand.
Apply Based on Your Face Shape
Where you place your blush can completely change the look of your face. Applying it based on your specific face shape helps to enhance your natural bone structure. Here’s a quick guide:
- Square faces: Apply blush directly to the apples of your cheeks to soften your features.
- Round faces: Sweep blush in a line along the tops of your cheekbones to add definition.
- Oval faces: You have versatility here. Apply it on the apples or along the cheekbones depending on your desired look.
- Heart-shaped faces: Gently curve the blush from your cheekbones up toward your temples.
If you’re unsure about your face shape or want more personalized tips, a virtual beauty consultation can offer tailored advice.
Related Articles
- The 8 Best Blushes for Mature Skin Over 60 | Nude Envie
- How to Apply Blush for a Natural Flush: A Pro Guide | Nude Envie
- The Ultimate Guide to Cream Blush for Wrinkles | Nude Envie
- The Best Cream Blush for Mature Skin (2025) | Nude Envie
Frequently Asked Questions
Is liquid blush suitable for oily skin? Yes, absolutely. While liquid formulas are known for their dewy finish, you can easily make them work for oily skin. The key is in the preparation and setting. After applying your liquid blush, lightly dust a translucent setting powder over your cheeks. This will help control shine and lock the color in place without dulling its radiance.
Can I wear liquid blush without foundation? Of course. Liquid blush looks beautiful on bare skin and is perfect for a minimal makeup day. Just make sure your skin is well-moisturized before you apply it. This creates a smooth, hydrated canvas that helps the blush blend seamlessly for a very natural, healthy-looking flush of color.
What's the easiest way to apply liquid blush if I'm a beginner? Your fingertips are your best starting tool. The warmth from your fingers helps the product melt into your skin, making it incredibly easy to blend. Just dot a small amount onto the apples of your cheeks and use a gentle tapping motion to diffuse the color. It’s an intuitive method that gives you a lot of control and a natural finish.
My liquid blush looks patchy when I apply it. What can I do to fix this? Patchiness usually happens for one of two reasons: either your skin wasn't prepped, or you waited too long to blend. Make sure your moisturizer or primer has fully absorbed before you start. Also, work on one cheek at a time. Apply the blush and blend it out immediately before it has a chance to set. A gentle tapping motion, rather than rubbing, will also prevent it from lifting any makeup underneath.
Can I use liquid blush on other parts of my face, like my lips or eyes? Yes, and it’s a great way to create a cohesive, monochromatic look. A small dab of liquid blush tapped onto the lips can create a beautiful, soft tint. You can also apply a sheer wash of color to your eyelids. Just be sure to use a formula that is safe for use on the lips and eyes, and you'll have a versatile product that can do it all.