How to Apply Blush Naturally: A Simple Guide

Blush is one of the most underestimated tools in your makeup bag. It’s so much more than just a pop of color; it’s a powerful way to enhance your bone structure and bring your entire face to life. When applied correctly, it can lift your cheekbones, soften angles, and give you a radiant, healthy appearance that looks like it’s coming from within. It’s not about changing your face, but about working with your unique features to bring out their best. This guide will show you how to apply blush natural-ly for a flush that not only adds color but also flatters your specific face shape.
Key Takeaways
- Choose Your Formula and Shade Wisely: The most natural look comes from picking a formula that suits your skin type—like a cream for a dewy finish—and a shade that matches the color your cheeks turn when you're naturally flushed.
- Placement and Blending Are Everything: Apply blush to the high points of your cheekbones and blend upwards and outwards to create a lifted effect. Use your fingers or a damp sponge to melt the product into your skin, ensuring there are no harsh lines.
- Layer for Longevity and a Flawless Finish: Start with a small amount of product and build the color in sheer layers for a believable glow. To make your blush last all day, apply a light dusting of a similar powder blush over your cream formula to set it in place.
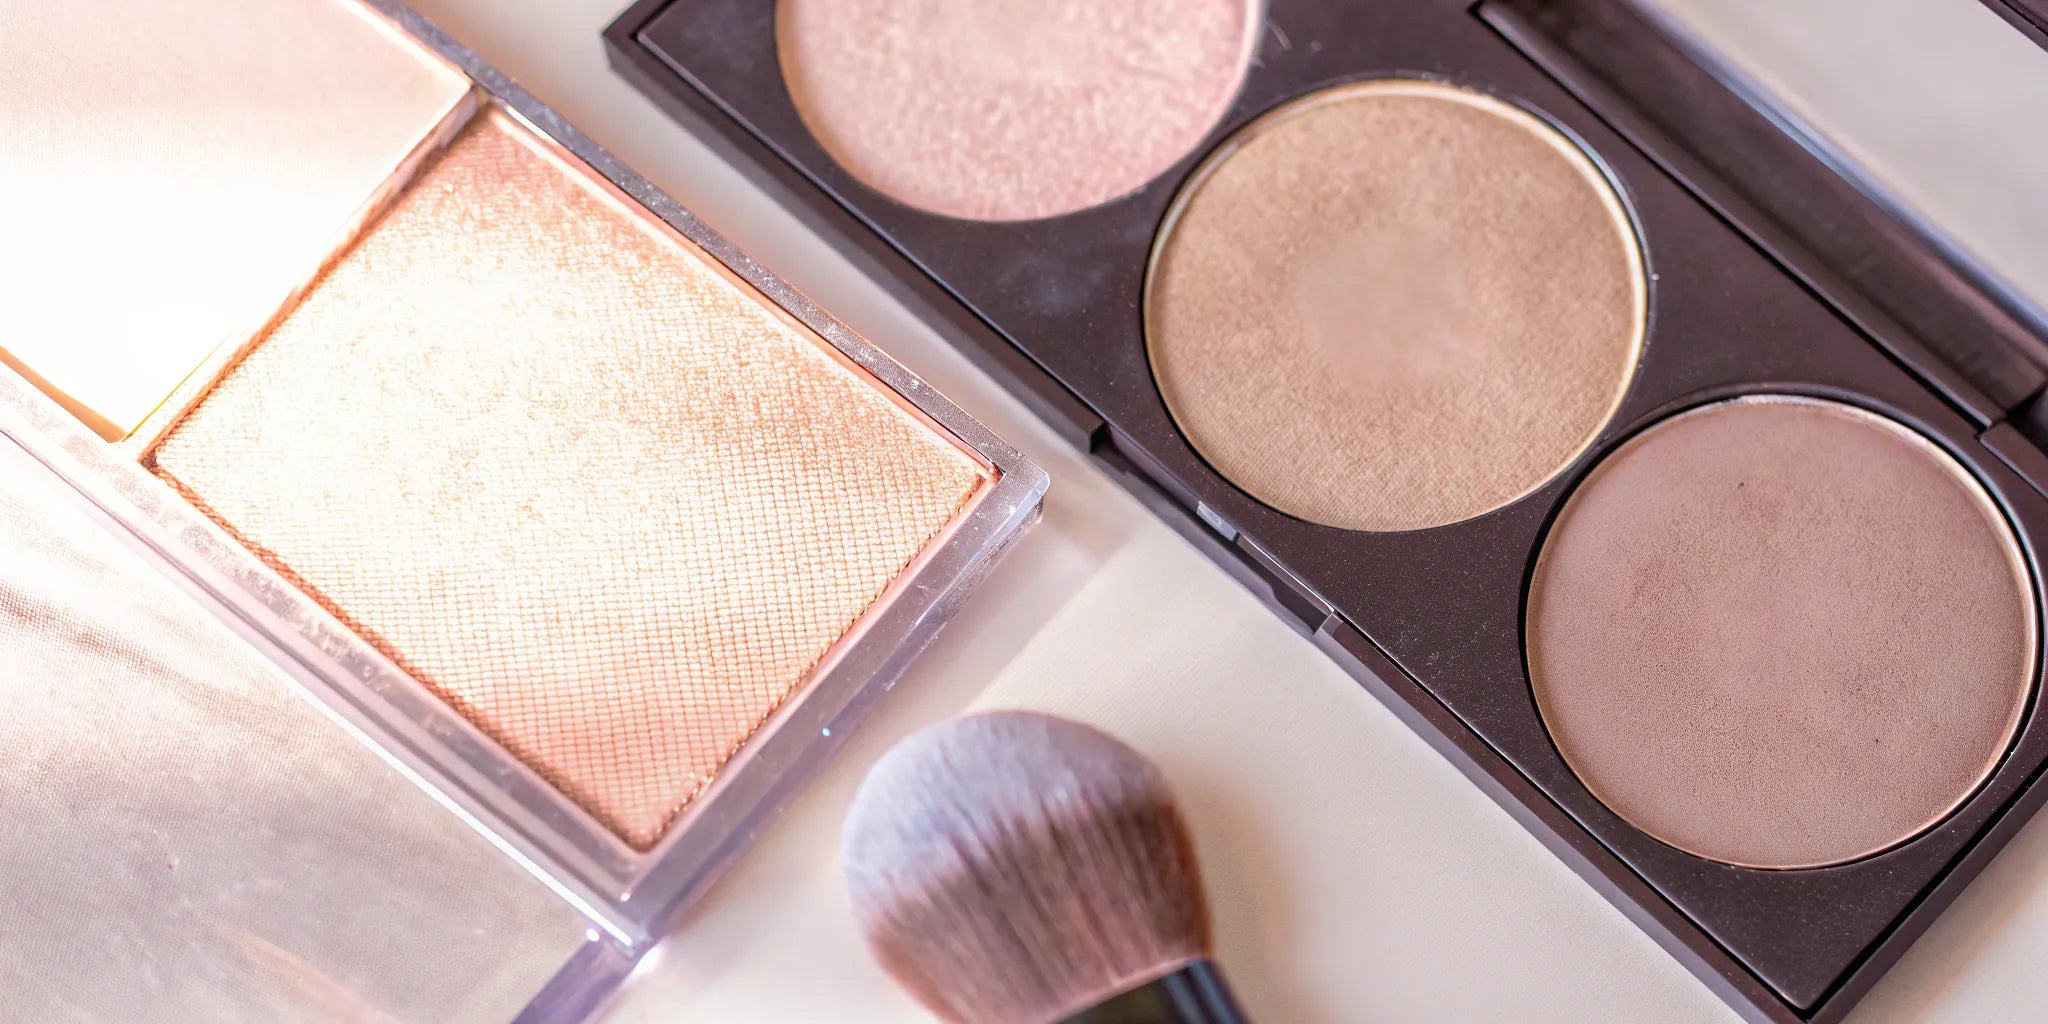
Cream, Powder, or Liquid: Which Blush Looks Most Natural?
Choosing the right blush formula is the first step toward achieving that perfect, natural-looking flush. The texture you pick—cream, powder, or liquid—plays a huge role in the final look, from a dewy glow to a soft, matte finish. While there’s no single "best" formula for everyone, understanding how each one works with your skin type and desired effect will help you find your perfect match. Think of it less as a strict rule and more about what will make you feel the most radiant. Let's break down the three main types so you can decide which one will give you that effortless, lit-from-within color.
Cream Blush for a Dewy, Natural Glow
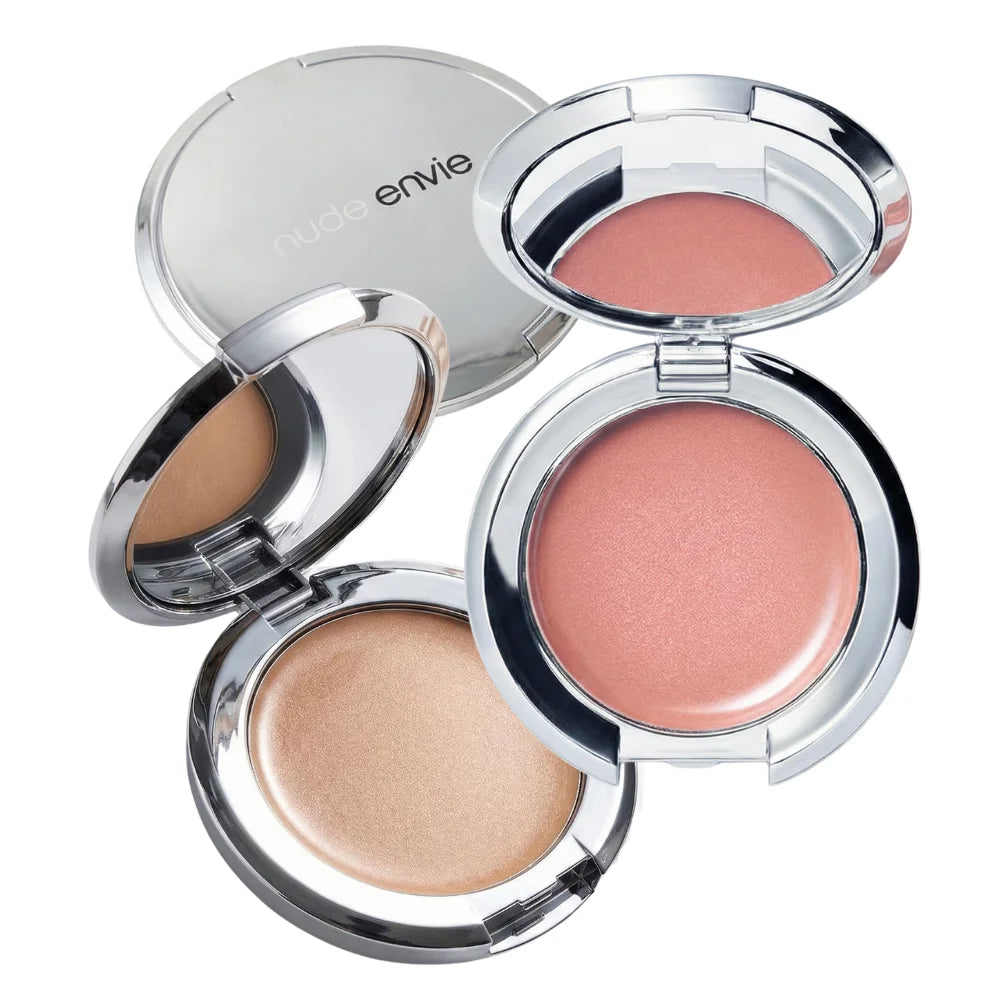
If you’re dreaming of a fresh, dewy glow, a cream blush is your best friend. This formula melts into the skin for a seamless, hydrated finish that looks incredibly natural. Cream blushes are especially wonderful for drier or more mature skin because they add a touch of moisture and create a youthful, glowing appearance without settling into fine lines. Our Cream Cheek Blush is designed to be applied with your fingertips, allowing the warmth of your skin to blend the product for a perfect second-skin effect. It’s the easiest way to look like you’re blushing from within.
Powder Blush for Buildable, Natural Color
Powder blush is a classic for a reason. It’s incredibly versatile and offers excellent control over color intensity, making it easy to build your flush from a sheer wash to a more defined pop of color. This formula is often a go-to for those with combination or oily skin, as it can help absorb excess oil for a soft-matte finish. For extra staying power, you can even layer your products by applying a light dusting of powder blush over a cream formula. This technique locks in the color and adds dimension for a beautiful, long-lasting look.
Liquid Blush for a Lightweight, Sheer Finish
For the most sheer, watercolor-like effect, liquid blush is the answer. These formulas are highly pigmented, so a tiny dot is all you need for a healthy-looking tint. Liquid blushes are known for their lightweight feel and ability to blend effortlessly, giving you a true "second-skin" look that doesn't feel like you're wearing any makeup at all. They work well on all skin types and are perfect for minimal makeup days. If you're unsure which formula is right for you, a virtual beauty consultation can offer personalized advice to help you find the perfect product for your routine.
How to Find Your Most Natural Blush Shade
Finding the right blush shade is the secret to a truly natural-looking glow. The perfect color won't look like makeup at all; it will simply look like you—healthy, vibrant, and effortlessly radiant. Instead of picking a color you think you should wear, the goal is to find a shade that mimics the color your cheeks naturally turn when you're flushed. This approach ensures the result is always believable and flattering. Think of it as enhancing your own beauty, not covering it up. With a few simple guidelines, you can easily identify the shades that will bring your complexion to life and give you that perfect, lit-from-within look every time.
Start by Matching Your Natural Flush
The most foolproof way to find your ideal blush shade is to look at your own skin. Gently pinch your cheeks and pay attention to the color that appears. That subtle, natural tint is your personal guide. It’s the color your skin creates on its own, so matching it will always look authentic. When you’re browsing for a new blush, look for a shade that captures that exact hue. This simple trick takes the guesswork out of the process and helps you find a color that seamlessly melts into your skin for a flush that looks like it comes from within.
Flattering Blush Shades for Fair Skin
If you have fair or light skin, your best options are soft, delicate colors that won't overwhelm your complexion. Look for shades like soft pinks, light peaches, and pale corals. These hues provide a gentle wash of color that mimics a natural, subtle flush. A sheer, buildable formula is your best friend here, as it allows you to control the intensity. Our Enamor blush is a perfect example of a soft pink that brightens fair skin without ever looking too heavy or stark, giving you a fresh and healthy appearance.
Flattering Blush Shades for Medium & Olive Skin
Medium and olive skin tones have a natural warmth that looks incredible with slightly brighter and warmer blush shades. Think vibrant peaches, warm mauves, and rosy pinks. These colors play up the golden or green undertones in your skin and add a beautiful, healthy-looking vibrancy. Don't be afraid of a little more pigment; your complexion can handle it and it will prevent the color from looking washed out. A shade like our Peachy blush adds the perfect pop of warmth to instantly brighten your entire face.
Flattering Blush Shades for Deep Skin
For deep skin tones, rich and highly pigmented shades are the way to go. Look for bold colors like deep berries, vibrant fuchsias, and warm plums. Lighter, paler shades can sometimes look ashy on deep skin, so you want colors with enough depth and intensity to stand out beautifully. These rich hues create a stunning, radiant glow that looks both natural and striking. A warm, reddish-brown or a deep berry from our blush collection will add a gorgeous warmth and dimension to your cheeks, creating a flush that is rich and luminous.
Switch Up Your Blush for Day, Night, or Seasons
Think of your blush the same way you think of your wardrobe—you wouldn't wear the same thing to a sunny brunch that you would to a candlelit dinner. The same principle applies to your makeup. For a natural daytime look, stick close to the shades that mimic your own flush, like soft pinks and light peaches. As evening approaches, you can introduce more depth and drama. A richer berry or a warm mauve will stand out beautifully in lower light. The changing seasons also offer a perfect excuse to explore different colors. Brighter corals feel fresh in the summer, while deeper, warmer tones complement the cozy feeling of fall and winter. Having a few options allows you to tailor your glow to any occasion.
Skin Prep: The First Step to a Natural Blush Look
The secret to a blush that looks like a genuine, healthy flush isn't just in the application—it starts with the canvas. Prepping your skin properly is the foundational step that ensures your blush glides on smoothly, blends seamlessly, and looks like it’s coming from within, rather than sitting on top of your skin. A well-prepared base prevents patchiness, helps the color last all day, and gives you that radiant, dewy finish we all want. Think of it as priming a wall before you paint; a little effort beforehand makes a world of difference in the final result. When your skin is properly hydrated and smoothed, any blush formula you choose will perform better. It's the difference between color that looks like makeup and color that looks like you. These simple steps will help you create the perfect surface for any blush formula, whether it's a cream, powder, or liquid, and set you up for a flawless, long-lasting glow.
Always Start with Hydrated Skin
Before you even think about reaching for your blush, make sure your skin is well-hydrated. Makeup artists consistently stress that smooth, moisturized skin is the key to making blush look natural. When your skin is dry, blush can cling to rough patches, resulting in an uneven or splotchy application. Start your routine by applying a nourishing moisturizer to create a plump, supple surface. This not only feels great but also ensures your makeup has a smooth base to adhere to. This simple step allows the blush to meld beautifully with your skin, giving you a seamless and believable glow that looks effortless.
Prime Your Skin for a Smooth Application
After moisturizing, a primer can take your skin prep to the next level. A good primer creates a silky-smooth canvas by filling in fine lines and minimizing the appearance of pores. This gives your blush an even surface to glide over, which is especially helpful for preventing powder blushes from settling into texture or looking cakey. If you don't have a primer, your moisturizer can do double duty. Just give it a minute to sink in before you start your makeup. The goal is to create a soft, hydrated barrier between your skin and your makeup, ensuring your blush applies evenly and stays put throughout the day.
Even Out Your Skin Tone with Foundation
For the truest color payoff, apply your blush after your foundation or tinted moisturizer. Creating an even base helps neutralize any redness or discoloration in your skin, allowing the blush shade to pop. Once your foundation is on, you can apply your cream blush directly on top. For extra staying power and a multi-dimensional look, some people like to layer their products. You can apply a cream blush first, lightly set your face with translucent powder, and then sweep a powder blush over the top to lock it in. This technique builds depth and ensures your flush lasts from morning to night.
How to Layer Blush with Bronzer
Layering blush with bronzer is like creating a beautiful sunset on your cheeks—the warmth of the bronzer provides the perfect backdrop for the pop of color from the blush. To get this right, always start with your bronzer. Think about where the sun would naturally kiss your face: the high points of your cheekbones, along your hairline, and a touch on your jawline. This creates a warm, sculpted base. Then, apply your blush to the apples of your cheeks, blending it upwards and slightly back towards your temples. This upward motion helps the two colors melt together seamlessly and gives your face a subtle lift. The key is to blend until there are no harsh lines, just a beautiful transition from sun-kissed warmth to a natural flush. Using a bronzer that complements your skin tone creates a dimensional look that’s both sculpted and soft.
Want a Dewy Look? Apply to Damp Skin
Here’s a pro tip for achieving an incredibly natural, dewy finish: apply your blush when your skin is still slightly damp. After applying foundation, you can pat a tiny bit more moisturizer onto the high points of your cheeks. Applying a cream or liquid blush onto this slightly "wet" surface helps the pigment melt into your skin for a truly seamless, lit-from-within effect. This technique, often used by celebrity makeup artists, ensures the color blends flawlessly and looks like a part of your skin, not just something sitting on it. It’s the ultimate trick for a fresh and radiant glow.
The Best Tools to Apply Blush Naturally
Having the right blush is only half the battle; using the right tools will completely change your makeup game. The applicator you choose depends on the formula you’re using, but the goal is always the same: a seamless finish that looks like your skin, but better. Whether you prefer brushes, sponges, or your own fingertips, mastering your tools is the key to achieving that perfect, natural-looking flush. Think of these as your secret weapons for a flawless application every single time.
Grab a Fluffy Brush for Powder Blush
When you’re working with a powder blush, step away from dense, stiff brushes. Instead, reach for a large, fluffy brush. This type of brush is designed to pick up just the right amount of pigment and diffuse it softly across your cheeks. It prevents those harsh, obvious lines and creates a beautiful, soft-focus effect that looks incredibly natural. Swirl the brush into your favorite powder blush, tap off any excess, and sweep it gently onto your skin for a perfect wash of color. This technique ensures your blush enhances your features without ever looking overdone.
Use Your Fingers to Apply Cream Blush
For cream formulas, your best tools are already at your fingertips. Applying cream blush with your fingers warms up the product, allowing it to melt into your skin for the most natural finish imaginable. This technique gives you amazing control and helps you feel exactly where you’re placing the color on your cheeks. Simply tap the product onto the apples of your cheeks and blend it out with gentle patting motions. The result is a dewy, healthy glow that truly looks like it’s coming from within, creating that perfect "no-makeup makeup" effect we all love.
Use a Stippling Brush to Diffuse Color
If you want a delicate, airbrushed finish, a stippling brush is a fantastic tool to have in your kit. These brushes have two layers of bristles—denser ones at the base and finer ones at the top—that help you apply color in light, buildable layers. It’s an ideal choice for both cream and liquid blushes, as it helps you achieve a soft, diffused look without disturbing the foundation underneath. This method gives you complete control, allowing you to build up the color to your desired intensity for a custom flush.
Blend It Out with a Damp Sponge
A damp makeup sponge is the ultimate tool for making your blush look like a part of your skin. After applying your cream or powder blush, gently press the clean side of the sponge over the edges of the color. This simple step helps to seamlessly blend the blush into your foundation, erasing any visible lines and creating a flawless, undetectable finish. It’s the perfect final touch to ensure your blush looks like a natural, healthy flush rather than makeup sitting on top of your skin. This trick works wonders for a truly integrated and polished look.
Use Different Brush Sizes for Precision vs. Blending
The brush you choose can completely change your blush application, so it helps to think about the job you want it to do. For precise placement, especially with a cream or liquid formula, a smaller brush gives you the control to put blush exactly where you want it, like on the high points of your cheekbones. When it’s time to blend, however, a different tool is required. To achieve a seamless, diffused finish with powder, you’ll want to reach for a large, fluffy brush that distributes pigment softly and prevents harsh lines. A stippling brush is another great option for both cream and liquid blushes, as it helps you build light layers of color for a delicate, airbrushed finish without disrupting the foundation underneath.
Where Should You Apply Blush for Your Face Shape?
Where you apply your blush can completely transform your look. It’s not just about adding color; it’s about strategically placing that color to enhance your natural bone structure and flatter your unique face shape. Think of it as gentle sculpting—a way to add dimension, lift, and radiance exactly where you want it. A swipe of a beautiful cream blush in the right spot can make your cheekbones pop, soften angles, or create that coveted youthful glow. Before you pick up your brush, take a moment to identify your face shape. This simple step is the secret to making your blush look less like makeup and more like a natural, seamless flush.
Understanding placement turns blush from a simple step into a powerful tool. By learning how to work with your features, you can create balance and draw attention to your favorite parts of your face. It’s the difference between a pop of color that sits on your skin and one that looks like it’s radiating from within. If you're ever unsure about your face shape or the best techniques for you, a virtual beauty consultation can provide personalized advice to help you master your application. Now, let's walk through the best placement for every shape.
Round Faces: Apply High on the Cheekbones
If you have a round face, the goal is to create definition and lift. Avoid applying blush directly to the apples of your cheeks, as this can make your face appear rounder. Instead, find the tops of your cheekbones. Suck in your cheeks slightly if you need help locating them. Apply your blush along the highest point of the cheekbone, blending the color up and out towards your temples. This upward motion creates a subtle angle that helps to elongate your features and sculpt your face beautifully. It draws the eye upward, giving your face a more defined and lifted appearance.
Square Faces: Soften Angles by Focusing on the Apples
For square face shapes, which have more prominent angles along the jawline and forehead, blush can be used to create softness. The key is to focus the color on the fullest part of your cheeks. Smile to find the apples of your cheeks and apply your blush in a circular motion right on that spot. This technique draws attention to the center of your face, creating the illusion of a rounder, softer silhouette. Be sure to blend the edges well so there are no harsh lines, ensuring the color looks like a natural, gentle flush that softens your features.
Oval Faces: Apply to the Apples of Your Cheeks
Oval faces are quite versatile, so you have a couple of great options for blush placement. For a classic, youthful look, apply blush to the apples of your cheeks and blend outwards towards your ears. This adds a healthy, vibrant glow. If you want to create a more sculpted and defined look, apply the blush slightly higher, along the tops of your cheekbones, and blend it back towards your hairline. This flexibility allows you to switch up your makeup depending on the occasion or your mood, making it easy to achieve either a soft glow or a more defined contour.
Heart & Diamond Faces: Create Balance with Placement
For heart-shaped faces, which are wider at the forehead and taper to a point at the chin, the goal is to soften and create balance. Apply blush in a "C" shape, starting from the tops of your cheekbones and curving up towards your temples, just above the tail of your eyebrow. This placement softens the wider upper portion of your face. For diamond faces, which are widest at the cheekbones, apply blush to the tops of the cheekbones and blend outwards towards the ears. This technique enhances your bone structure while softening the mid-section of your face for a harmonious look.
Oblong Faces: Apply Horizontally to Add Width
If you have an oblong or long face shape, you can use blush to create the illusion of more width and balance your features. Apply your blush starting on the apples of your cheeks, but instead of blending up towards the temples, blend it horizontally out towards your ears. You can even add a tiny bit of color across the bridge of your nose to enhance the effect. This horizontal application breaks up the length of the face, drawing the eye outward and creating a sense of width that beautifully balances your proportions for a lifted, radiant finish.
Tips for Applying Blush on Sensitive or Redness-Prone Skin
If you have sensitive skin or deal with redness from conditions like rosacea, you might feel like blush is off-limits. The fear of causing a flare-up or accentuating redness is real, and it can be tempting to skip the cheeks altogether. But adding a healthy flush of color is absolutely possible—it just requires a little extra care and the right approach. The key is to choose your products wisely and use application techniques that work with your skin, not against it. Think of it as a gentle way to enhance your natural beauty without causing irritation. These simple, actionable tips will guide you through applying blush so you can achieve a beautiful, radiant glow with confidence, even on the most delicate skin.
Always Patch Test New Products
Before you sweep a new blush across your cheeks, it’s essential to do a quick patch test. This is a simple but crucial step for anyone with reactive skin, as it helps you spot a potential reaction before it happens on your face. Simply apply a small amount of the product to a discreet area, like the inside of your wrist or behind your ear, and wait at least 24 hours. Experts agree that this simple check can help you avoid potential irritation and flare-ups from new products. If you see any signs of redness, itching, or irritation, you’ll know that formula isn’t the right fit for you, saving your face from unnecessary discomfort.
Choose Gentle, Hypoallergenic Formulas
When your skin is sensitive, the ingredients in your makeup matter immensely. Become a label detective and look for products that are specifically formulated for sensitive skin—you'll often see terms like "hypoallergenic," "non-comedogenic," or "dermatologically tested." Many clean beauty brands prioritize gentle, skin-loving ingredients and avoid common irritants like synthetic fragrances, alcohol, and harsh dyes, which is a great place to start. Choosing a cream blush with a minimal, nourishing formula can also be a gentler option than some powders, as it can provide a soothing, hydrated finish without settling into or exacerbating dry, sensitive areas.
How to Counteract Redness
To prevent your blush from amplifying any existing redness, it helps to first create a neutral canvas. A green-tinted primer is a makeup artist's secret weapon for this. Because green is opposite red on the color wheel, it works to visually cancel out redness from rosacea or general irritation. Apply a thin layer only on the areas where you need it before your foundation. This step ensures that the blush color you apply on top looks true to its shade and provides a soft, healthy glow rather than adding to any unwanted flush.
Select the Right Blush Shade
The shade of blush you choose can either calm or accentuate redness. While it might seem intuitive to reach for a rosy pink, shades with strong red or pink undertones can sometimes make redness more noticeable. Instead, opt for more neutral or muted tones. Soft mauves, brownish-pinks, and neutral peaches can add warmth and dimension without clashing with your skin. When you explore a blush collection, look for these softer shades. When you apply the color, use a light hand and build it up slowly, blending the edges carefully for a soft, diffused finish.
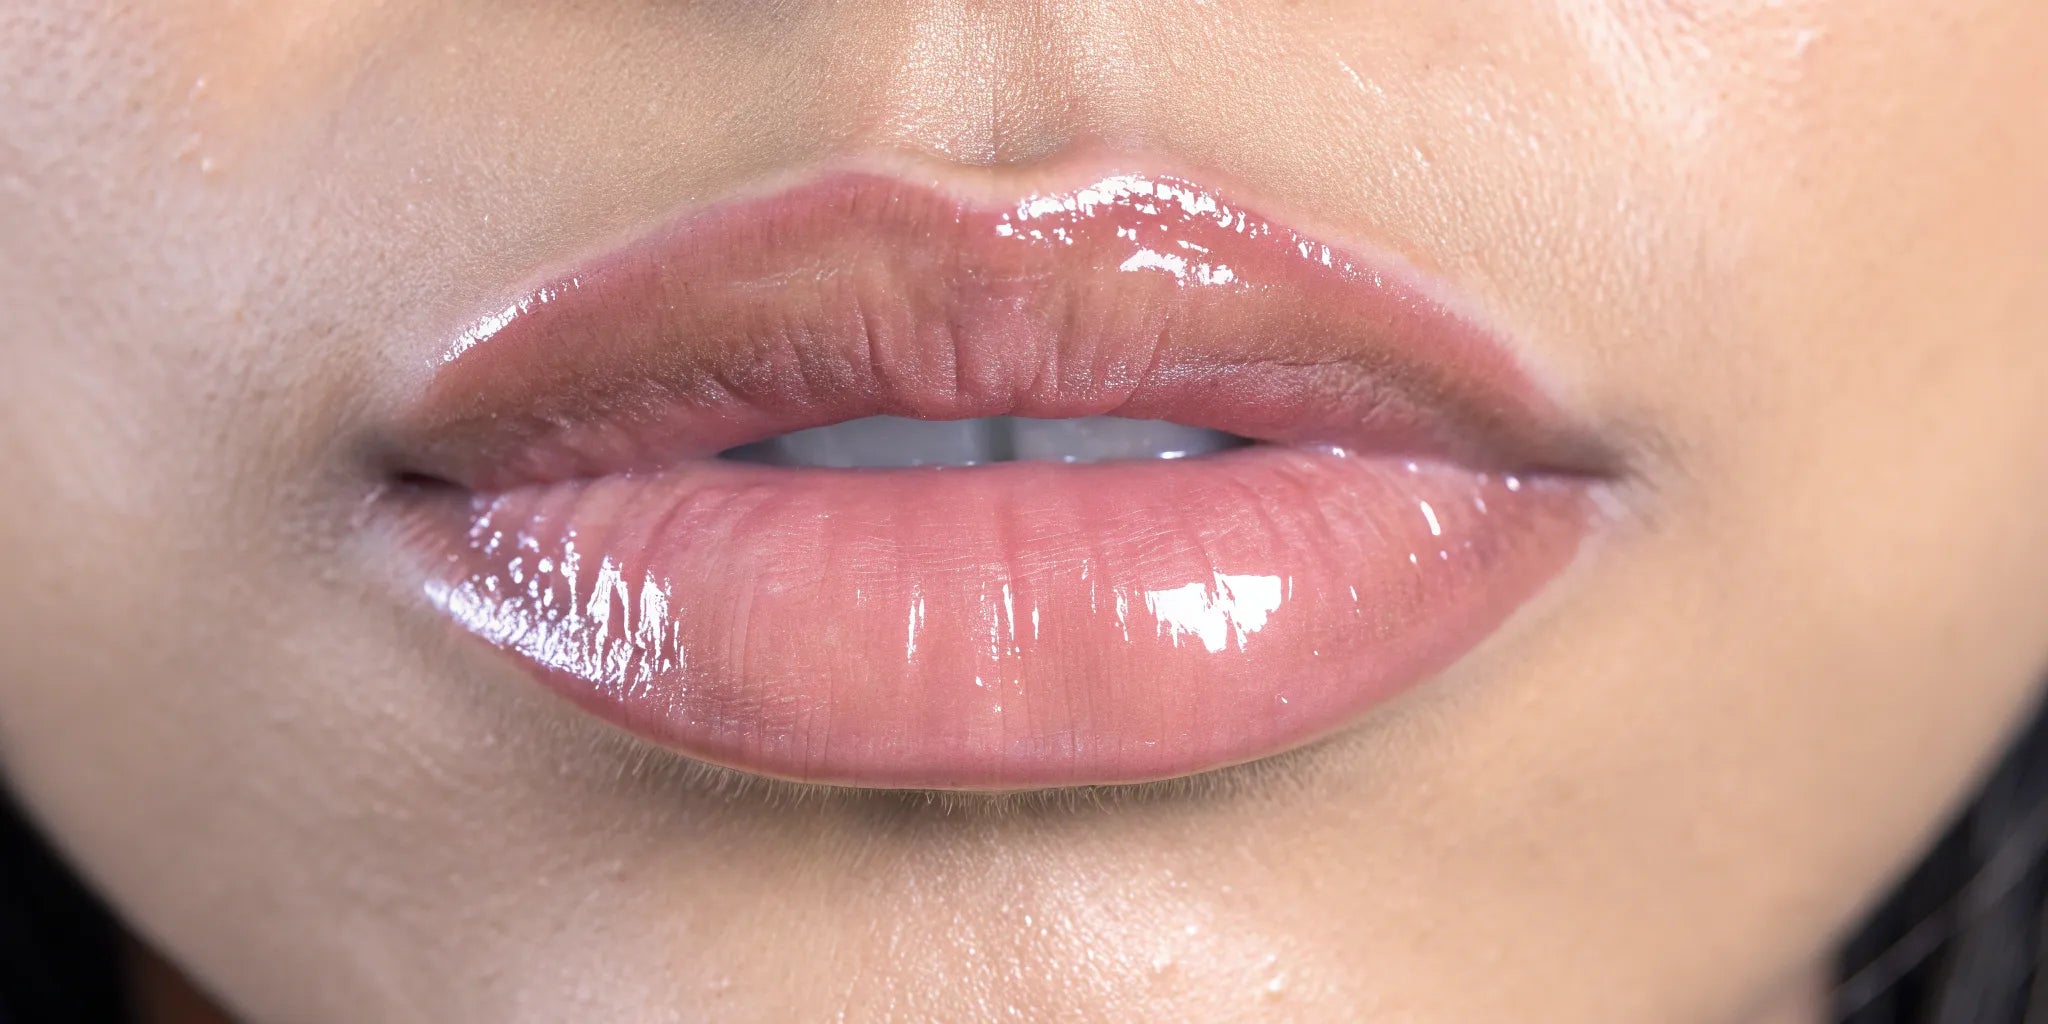
Shift Focus with a Neutral Lip
A great strategy for managing redness is to create a different focal point for your makeup look. Drawing attention to your lips with a beautiful, flattering color can balance your features and soften the focus on any redness on your cheeks. A sophisticated nude or a soft, feminine pink is perfect for this. Pairing a subtle cheek with a polished lip creates a harmonious and elegant look. Finding your perfect nude lipstick or gloss can complete your routine and give you a boost of confidence, knowing your entire look is cohesive and chic.
How to Apply Blush for a Seamless, Natural Finish
Once you’ve prepped your skin and chosen your perfect shade, it’s time for the fun part: application. The goal here isn’t just to add color, but to create a believable, healthy-looking flush that seems to come from within. It’s about making the blush look like a part of your skin, not just something sitting on top of it. Mastering a few simple techniques can make all the difference between a streaky finish and a seamless glow. Whether you prefer the dewy finish of a cream or the soft diffusion of a powder, these steps will help you achieve a flawless application every time.
Less is More: Start with a Light Touch
The golden rule of blush application is that it’s always easier to add more product than it is to take it away. Begin with a small amount of blush on your brush or fingertips. A light, gentle touch ensures you don’t deposit too much color in one spot. Remember that smooth, hydrated skin is the best canvas for any blush. Makeup artists agree that a well-moisturized base helps the product glide on and melt into the skin for that coveted natural look. So, before you even pick up your blush, make sure your skin is happy and hydrated.
A Simple Trick for Precise Placement
Here’s a little secret that will change your blush game: where you put the color matters more than how much you use. The right placement can instantly lift and define your features, enhancing your natural bone structure for a more balanced look. Instead of swirling blush on the apples of your cheeks, try applying it to the high points of your cheekbones and blending upwards and outwards toward your temples. This technique draws the eye upward, creating a subtle, lifted effect that flatters almost every face shape. Many makeup enthusiasts agree that this strategic placement is the key to making blush look sophisticated and seamless, rather than just like a patch of color.
Load Your Brush Like a Pro
To avoid the common mistake of applying too much blush at once, always start with a light hand. Whether you're using a powder or a cream, begin with a minimal amount of product. If you're using a powder blush, swirl your brush in the pan and then tap off the excess powder before it touches your face. This simple step is crucial because it gives you complete control over the color intensity, allowing you to build the shade gradually. It’s much easier to add another sheer layer for more impact than to blend away a patch of bright color. This method ensures a soft, diffused application every time.
Your Step-by-Step Guide to Applying Cream Blush
Cream blushes are fantastic for achieving a dewy, second-skin finish. The best way to apply them is with your fingertips. The warmth from your hands helps the product melt into your skin for an incredibly natural blend. Simply tap the color onto the apples of your cheeks and blend upwards and outwards. You can also use a damp beauty sponge to press the product in. For the most seamless look, apply your cream blush after any liquid foundation but before you set your face with powder. This order helps the cream textures merge beautifully.
Your Step-by-Step Guide to Applying Powder Blush
If you’re using a powder blush, a soft, fluffy brush is your best friend. Swirl the brush into the pan, tap off any excess, and then lightly sweep it onto your cheeks. Use gentle, circular motions to diffuse the color and avoid harsh lines. For an even softer effect, you can first press the powder on with a soft sponge, then use your brush to blend the edges. This two-step method helps the powder meld with your skin, creating a soft-focus flush rather than a stripe of color.
Build Up Your Color in Thin Layers
Patience is key to a perfect flush. Instead of loading up your brush with a lot of product at once, apply a sheer layer first. Then, assess the intensity and decide if you want more. You can continue adding thin layers until you reach your desired vibrancy. This gradual approach gives you complete control and prevents the color from looking patchy or overwhelming. Layering your makeup correctly is the secret to a professional-looking finish that lasts all day without looking heavy.
The Secret to a Natural Look? Blending
Blending is arguably the most critical step for a natural blush look. After applying your color, take a clean brush or sponge and gently buff around the edges of your blush. This diffuses any harsh lines and creates a smooth transition between your blush and the rest of your makeup. The goal is to make it impossible to tell where the blush ends and your skin begins. A good blend ensures your blush looks like a genuine, healthy flush, giving you that radiant, lit-from-within glow.
Use Your Foundation Sponge for a Flawless Edge
To truly master a seamless blush application, one of the best tools you can use is your foundation sponge. After applying your blush, take the clean side of your damp sponge and gently press it along the edges of the color. This simple motion is the key to melting the blush into your foundation, effectively erasing any harsh lines and creating a flawless, undetectable finish. This technique is especially brilliant for applying cream blush, as the sponge helps to perfectly meld the creamy texture with your skin for a truly integrated look.
Using a sponge not only diffuses the pigment for a softer look but also ensures the color melds beautifully with your skin, giving you that coveted "lit-from-within" glow. This final step is what takes your makeup from looking good to looking professionally polished. It guarantees your blush appears as a genuine, healthy flush rather than just a layer of makeup sitting on your skin. It’s a simple trick that makes a huge difference in achieving a truly natural and radiant finish.
How to Make Your Blush Last All Day
It’s so frustrating when your perfect rosy glow disappears before lunch. You spend time carefully blending your blush for that natural flush, only to find it’s vanished a few hours later. Why does this happen? Often, it's because our skin's natural oils break down the pigment, or the product simply fades with daily wear. The good news is that getting your blush to stay put doesn't require a complete overhaul of your routine or a search for a magical, long-wear formula. With a few simple layering techniques, you can ensure your cheeks stay vibrant and fresh from your morning coffee to your evening plans. These methods are all about smart application and setting your work for success. It's less about finding a single miracle product and more about how you combine and lock in the color you already love. By creating a solid base and setting it properly, you give your blush the best possible chance to withstand humidity, long hours, and daily wear. Think of it like painting a wall—you wouldn't just apply one coat of color without a primer and a sealant. The same principle applies to your makeup for a look that truly endures.
Set Cream or Liquid Blush with Powder
This is a classic makeup artist trick for a reason: it works. Start by applying a cream blush to create a dewy, pigmented base. The creamy texture gives the powder something to grip onto, which is key for longevity. Using your fingertips or a dense brush, press a product like our Cream Blush in 'Peachy' onto the apples of your cheeks, blending it out. Then, take a powder blush in a similar shade and lightly sweep it over the cream. This two-step process not only locks in the color but also adds dimension, giving you a glow that truly lasts.
Try Layering Different Blush Formulas
After you’ve applied your blush, you can add an extra layer of security with a translucent powder. This step is especially helpful if you have combination or oily skin, as it helps control shine that can cause makeup to fade. The key is to use a very light hand. Take a large, fluffy powder brush, tap off any excess product, and gently dust a fine layer of translucent setting powder over your cheeks. This will set the blush without masking its beautiful color, creating a soft-focus finish that helps your makeup endure throughout the day.
Finish with a Setting Spray
Think of setting spray as the final seal for your makeup masterpiece. Once you're happy with your entire look—foundation, blush, and all—a few spritzes of a quality setting spray will make a huge difference. It works by creating a lightweight, invisible film that holds everything in place and prevents makeup from smudging, creasing, or fading. Hold the bottle about eight to ten inches from your face and mist it on in an “X” and “T” formation for even coverage. This final step helps all your makeup layers meld together for a seamless, skin-like finish that stays fresh for hours.
The Final Check: Step into Natural Light
Before you head out the door, there’s one last crucial step: check your work in natural light. Bathroom lighting can be incredibly deceiving, often making your blush look more subtle than it actually is. Stepping near a window gives you the truest picture of how your makeup looks, ensuring the color is soft and the blend is seamless. This is your chance to spot any patchiness that wasn't visible before. If you notice any edges, take a clean brush or a damp sponge and gently buff them out until the application diffuses any harsh lines. The goal is a finish that truly looks like a healthy, lit-from-within glow, and a quick check in daylight is the best way to confirm you’ve nailed it.
Are You Making These Common Blush Mistakes?
We’ve all had that moment: you step into different lighting and realize your soft, rosy glow looks more like a harsh stripe of color. Blush can be tricky, but getting it right often comes down to avoiding a few common missteps. The goal is always a seamless flush that looks like it’s coming from within, not sitting on top of your skin. When your application is off, it can throw off your entire look.
Let’s walk through the most frequent blush blunders and how to fix them. From using too much product to placing it in a way that doesn’t flatter your features, these small adjustments will make a huge difference. Mastering what not to do is just as important as learning the right techniques. With a few simple corrections, you can ensure your blush always looks fresh, natural, and beautifully blended every single time.
Applying Too Much Blush
It’s so easy to go overboard, especially with a beautifully pigmented blush. The classic mistake is dipping your brush in, loading it up, and swiping it directly onto your cheeks. This often leaves a patch of intense color that’s difficult to blend out. A heavy-handed application can instantly look unnatural and dated.
The fix is simple: start with less than you think you need. If you’re using a powder, lightly tap your brush into the pan, then tap off any excess before it touches your skin. For cream formulas, dab a small amount on the back of your hand first to warm it up, then apply it with your fingers or a brush. You can always build the color slowly until you reach your desired intensity.
Placing Your Blush Incorrectly
Where you apply your blush is just as crucial as the shade you choose. A common error is applying it too low on the cheeks or too close to the nose. Placing blush below the apples of your cheeks can visually drag your face down, while applying it too centrally can create a ruddy, unflattering look.
Instead, focus on lifting your features. A universally flattering technique is to smile softly to find the apples of your cheeks, then apply the blush on the highest point, blending it upward and outward along your cheekbones toward your temples. This placement creates a youthful, lifted effect that enhances your natural bone structure. Think "up and out," not "down and in."
Forgetting to Blend
This is the secret to making blush look like a natural part of your skin. Unblended blush results in obvious lines and patches of color that scream "makeup." The goal is a soft, diffused finish where you can’t see where the color begins or ends. It should melt seamlessly into your foundation or skin.
To avoid harsh edges, always take a moment to blend. After applying your initial color, use a clean, fluffy brush, a damp makeup sponge, or even your fingertips to soften the perimeter. Use light, circular or sweeping motions to diffuse the color. Our Envious Cream Blush is formulated to be incredibly blendable, making this step feel effortless.
Ignoring Your Skin's Undertones
Have you ever tried a blush that looked gorgeous in the pan but completely off on your skin? It was likely the wrong undertone for your complexion. Choosing a color that clashes with your skin’s natural undertones—cool, warm, or neutral—is a frequent mistake that can make your blush look artificial.
A quick way to check is to look at the veins on your wrist. If they appear blue, you likely have cool undertones and will look amazing in pinks and berries. If they look green, you have warm undertones and should lean toward peaches and corals. If you see a mix, you’re neutral and can wear most shades. For personalized help, a Virtual Beauty Consultation can help you find your perfect match.
Related Articles
- 6 Best Natural Looking Cream Blushes for a Glow | Nude Envie
- How to Find the Perfect Peachy Blush for You | Nude Envie
Frequently Asked Questions
Can I use my cream blush on my lips or eyes? Absolutely! Using a cream blush as a multi-use product is one of my favorite ways to create a quick, cohesive look. Dabbing a bit of the same color on your cheeks, lips, and even as a wash over your eyelids ties everything together beautifully. It gives you a polished, monochromatic look with minimal effort. Just make sure the formula is safe for those areas, like our Cream Cheek Blush, and enjoy how simple your routine becomes.
Why does my powder blush look patchy or cakey? This is a super common issue, and it almost always comes down to skin prep. Powder blush can cling to dry spots or look heavy if the skin underneath isn't smooth and hydrated. Before you apply any makeup, make sure your skin is well-moisturized. If you wear foundation, you might also try setting your liquid or cream base with a very light dusting of translucent powder before you go in with your powder blush. This creates a smooth, dry canvas for the blush to glide over, preventing it from grabbing unevenly.
I have combination skin. Should I use a cream or powder blush? Combination skin can be tricky, but you can absolutely use either formula—or even both. If you prefer a dewier finish, a cream blush will work beautifully. If you tend to get oily, you might prefer a powder blush for its mattifying properties. The best trick for combination skin is layering: apply a cream blush first for that glowing base, then set it with a light sweep of a similar powder blush. This gives you the best of both worlds—a radiant finish that lasts all day.
Do I have to wear foundation to wear blush? Not at all! Blush on bare skin can look incredibly fresh and natural. The key is to make sure your skin is well-moisturized so the product has a smooth surface to blend into. Cream and liquid blushes are often the easiest to work with on bare skin because they melt in so seamlessly for a true "second-skin" finish. It's the perfect way to add a healthy-looking pop of color on days when you want a more minimal makeup look.
How do I stop my blush from fading by the end of the day? The secret to long-lasting blush is layering. A single layer of powder, especially on oily skin, can fade as the day goes on. The most effective method is to apply a cream blush first to create a pigmented base, then set it with a powder blush in a similar shade. This locks the color in place. Finishing your entire look with a setting spray will also make a huge difference, as it helps meld all your makeup together and prevents it from breaking down.
Applying Blush to the Tip of the Nose
Adding a touch of blush to the tip of the nose is a playful technique that can create a youthful, sun-kissed look that beautifully ties your whole face together. While some worry this might make them look like they have a cold, the secret is all in the application. Instead of a concentrated dot of color, you’re aiming for a barely-there whisper of pigment that mimics a natural flush from a day spent outdoors. This small detail helps create a harmonious look, making the blush on your cheeks appear even more genuine and cohesive. It’s a simple trick that can instantly make your complexion look brighter and more vibrant.
The easiest way to master this is by using only the leftover product from your blush application. After applying color to your cheeks, take your fluffy brush and lightly sweep what’s remaining across the bridge of your nose, finishing with a gentle tap on the very tip. If you’re using a cream formula, like our Cream Cheek Blush, the warmth of your fingertips is perfect. Use the finger you used for blending to press the tiniest residual amount onto your nose. This method ensures the color is incredibly sheer and melts into your skin for a seamless, believable glow that looks effortlessly radiant.