Nail Polish for Weak Nails: A Gentle Mani Guide
When a manicure starts lifting at the tips, the instinct is often to add another coat and hope for the best. I prefer the quieter approach: keep the nails short and clean, work in thin layers, and treat removal as part of the manicure rather than an afterthought. That small shift makes the finish look more deliberate, especially when nails are peeling or catching on fabric.
Book a virtual beauty consultation for help choosing a comfortable, polished nail color.
Nail polish for weak nails can create a neat, polished appearance, but it cannot repair or treat an underlying nail problem. Because fingernails are made of layers of keratin, a gentler routine matters: limit prolonged water exposure. Avoid picking, and choose products and techniques you can verify rather than trusting a strengthening promise alone. If you notice significant changes, pause polish and seek professional advice.
The most elegant result begins with realistic expectations. Before choosing between a sheer nude and a richer color, let us look at what polish can do cosmetically. Where its limits are, and why preparation sets the tone for every coat that follows.
What Nail Polish for Weak Nails Can and Cannot Do
The short answer: nail polish for weak nails can give uneven, peeling tips a smoother-looking finish and make a manicure feel more put together. It cannot rebuild the nail or correct the reason it is splitting. I think of color as the finishing layer of a gentle routine, not the routine itself.
That distinction matters because a fingernail is made from layers of keratin, rather than a surface that polish can permanently change. A glossy coat may visually blur ridges, soften the look of peeling edges, and add a little structure to the manicure. Those are cosmetic benefits. They are not the same as strengthening the nail underneath.
Why gentleness matters more than a bold promise
Weak-feeling nails are often exposed to more daily stress than we notice. Repeated or prolonged contact with water can contribute to splitting, while frequent washing and sanitizing can dry nails because they lose water faster than skin. That makes the way you prepare, wear, and remove polish just as important as the shade in the bottle.
My preference is to choose a finish that does not make you fuss with the surface. A sheer nude can make minor unevenness less noticeable without demanding perfect opacity. A soft pink or milky finish has a similar ease, especially when the free edge is delicate. If you prefer a deeper color, apply it with a light hand and accept that edge wear may be more visible. The goal is a polished appearance without turning every small chip into a reason to pick.
Keep expectations equally practical around labels. Words such as "strengthening" or "hardening" may describe a product's intended cosmetic role. But they are not a reason to skip basic care or assume a formula will solve persistent changes. A base coat can be a sensible manicure step. It should not be presented as a treatment unless that exact claim is documented for the specific product.
For foundational care, Mayo Clinic's nail-care guidance supports keeping nails clean and dry, protecting hands during cleaning, and avoiding habits that damage the nail bed. That is the useful boundary: polish can help you enjoy the look of your nails, while gentle handling helps reduce unnecessary stress around the manicure.
Start there, then move into preparation. A clean, dry surface and a little attention to length and shape give your color a calmer place to sit.
How to Choose a Polish When Nails Peel or Split
When my nails are peeling, I do not reach first for the loudest promise on a bottle. I look for a manicure that makes the hands feel finished without drawing attention to every uneven edge. The best nail polish for weak nails is, in my view, chosen for a comfortable cosmetic result: a forgiving finish. A shade you will actually wear, and a label you can understand.
Start with the finish, not the marketing claim
Glossy polish reflects light and can make color look crisp, but that shine may also emphasize ridges or places where the surface is lifting. A sheer or softly translucent finish is often my preference when nails look a little irregular. It lets the natural nail show through, so small variations feel intentional rather than disguised. Cream finishes sit between the two: polished and even-looking, without the high contrast of glitter or a very dark lacquer.
Texture matters too. Chunky shimmer, textured glitter, and strongly metallic finishes can catch on visual unevenness and make removal feel more involved. That does not make them off-limits. It simply means I save them for nails that are behaving, and choose a smooth, uncomplicated finish when peeling is the main concern.
Keep the length practical
Shorter nails are easier to keep visually balanced when the tips split or catch. I like a softly rounded shape with enough free edge to look deliberate, rather than a long square that magnifies every break. Short length is not a treatment and does not change the underlying condition. It is a lower-tug styling choice that makes daily polish feel less precious and reduces the temptation to use a peeling corner as a picking point.
Read the label, then choose your color direction
Be skeptical of the word "strengthening" when it appears without a clearly documented formula or use instruction. Polish is a cosmetic finish, not a guarantee that a nail will repair itself. Check the actual product information, follow its directions, and avoid assuming that a claim on one nail product applies to another. Nude Envie's approved information does not document a specific lacquer ingredient, wear promise, or strengthening performance. So I would choose its shades for color and finish rather than infer benefits that are not stated.
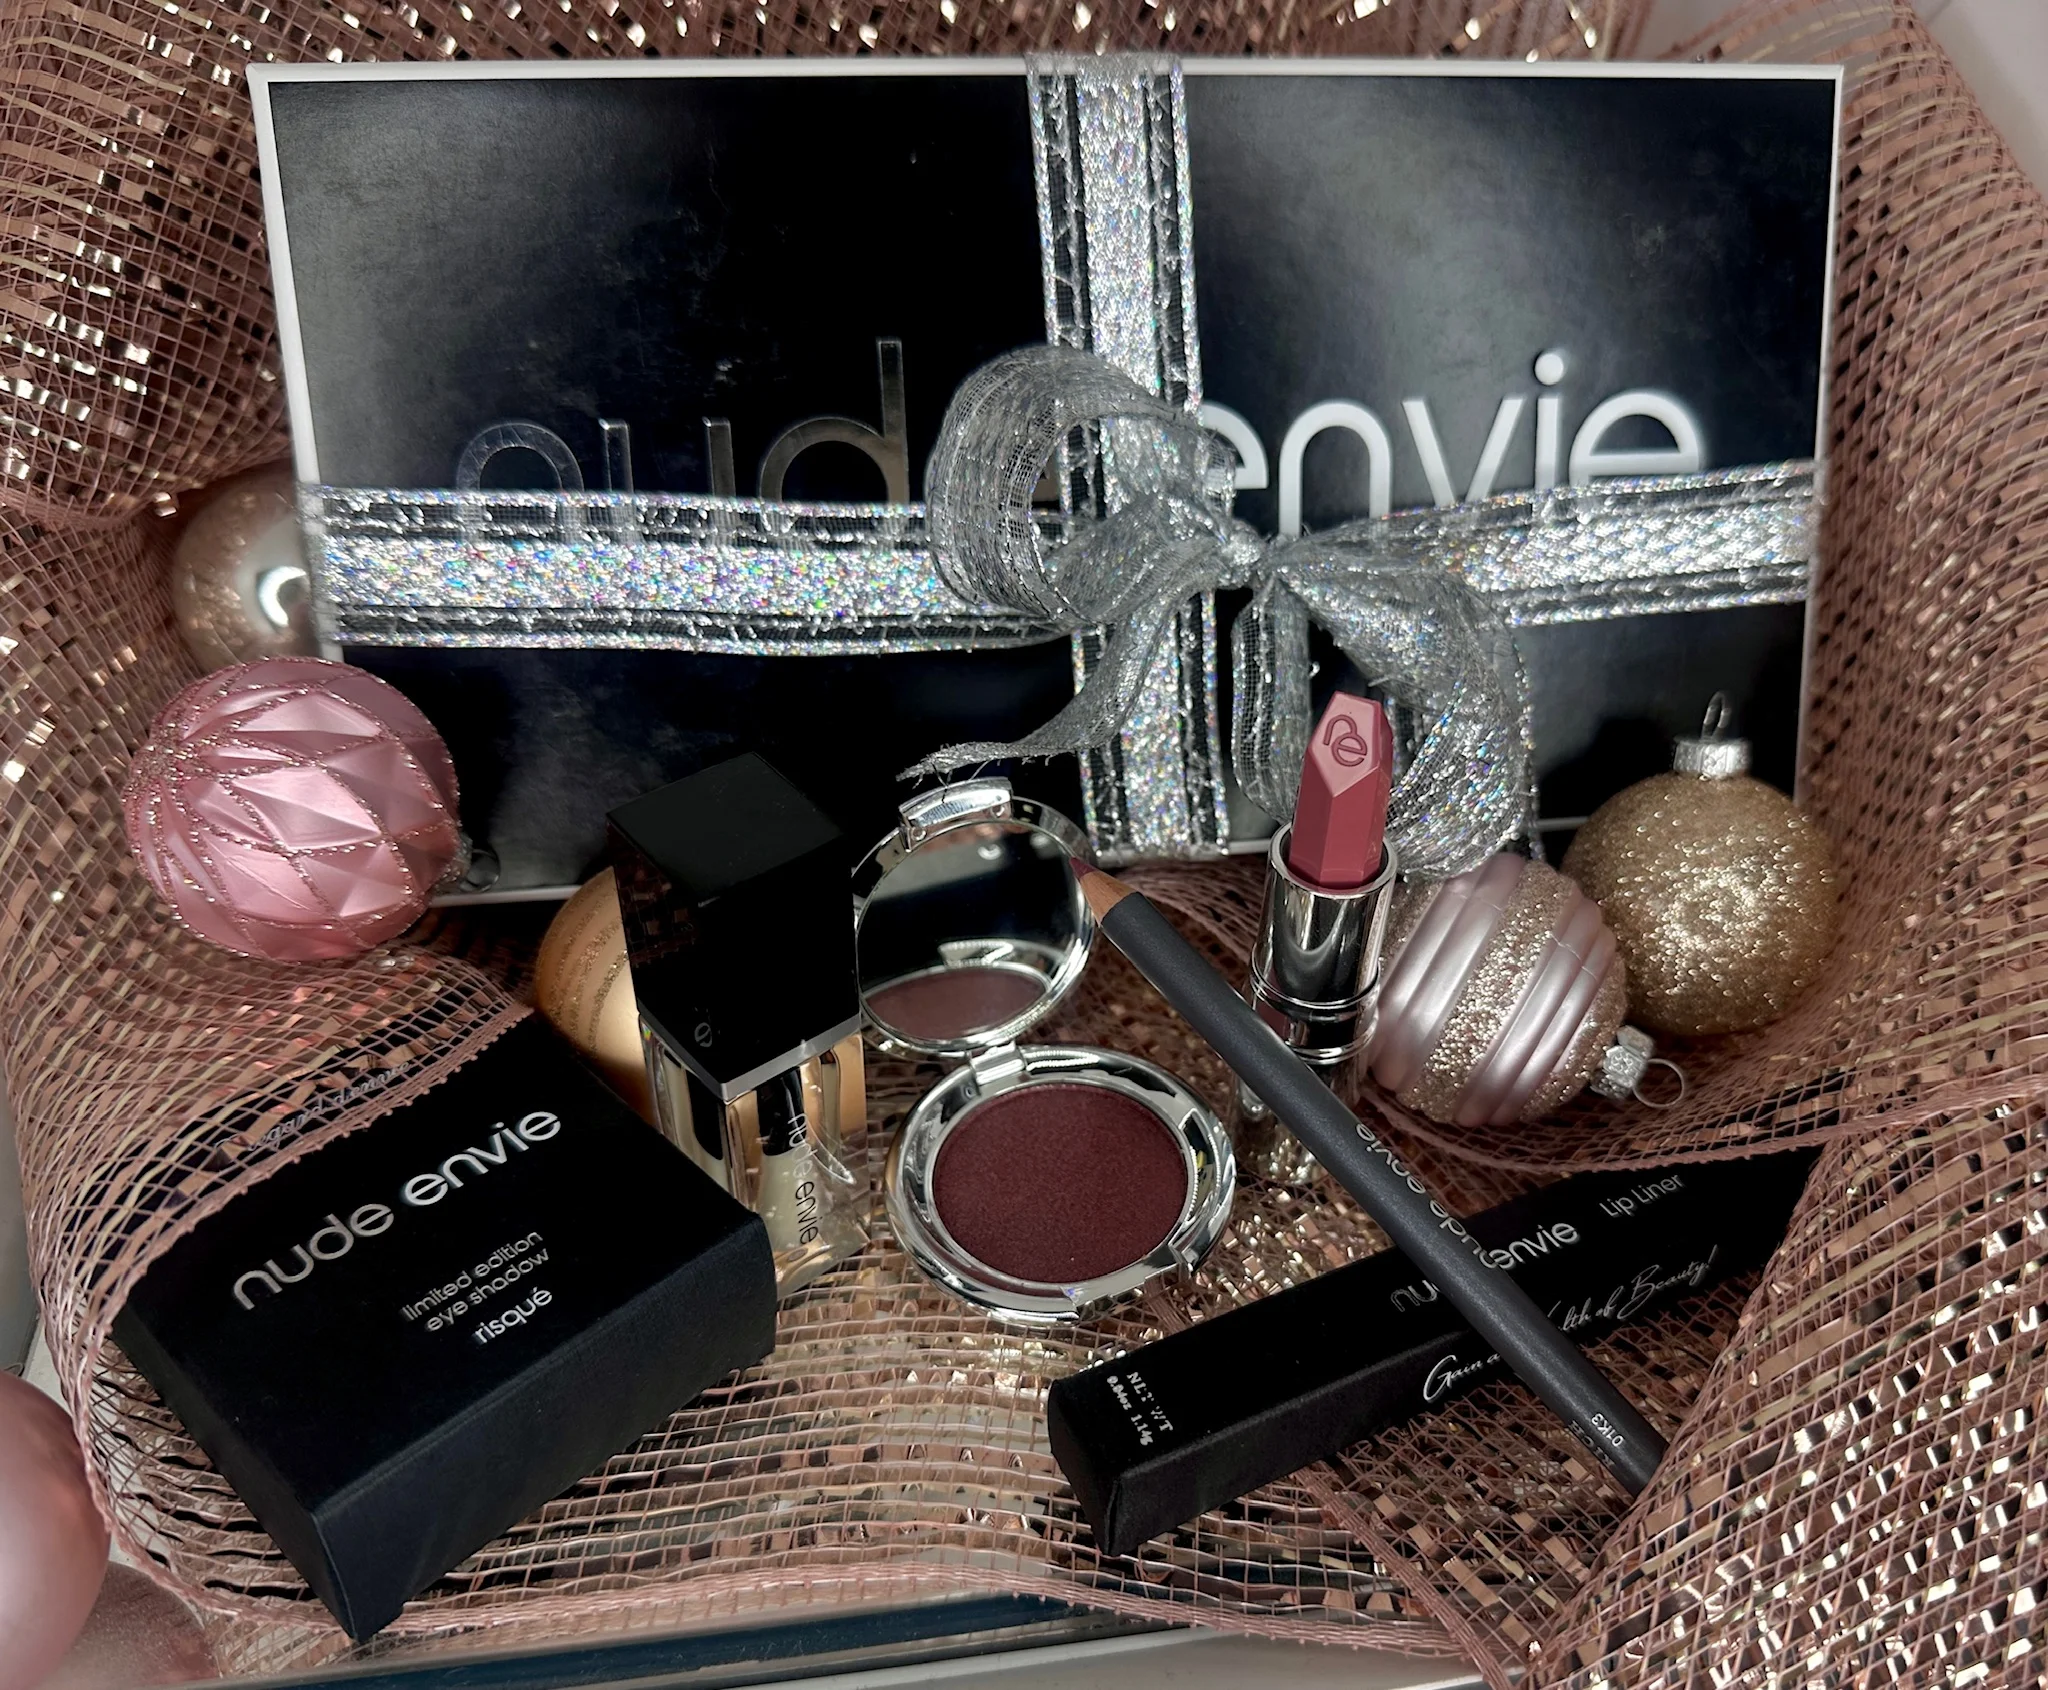
Color direction can make the decision simpler. Warm undertones tend to harmonize with peach, honey, caramel, and rosy beige. Cool undertones often suit pink, mauve, berry, and blue-leaning nude shades. Neutral coloring gives you room to move between both families. Nude Envie organizes shades by warm, cool, and neutral preferences, which is useful when you want a refined color that works with your skin and wardrobe. Browse the Nude Envie nail lacquer collection with that filter in mind, then choose the shade that looks calm and even in ordinary daylight, not only under a store light.
A Nail Polish for Weak Nails Preparation Routine
My favorite manicure improvement is usually the least glamorous one: preparing the nail before the color comes out. A smooth, calm starting point makes thin coats look more intentional. Especially when you prefer a sheer nude or a soft pink that lets the natural nail show through. This is a cosmetic routine, not a treatment, so the goal is simply to reduce tugging, catching, and avoidable mess.
- Start with clean, completely dry nails. Wash your hands, remove any old polish, and let the nail surface dry fully before shaping or painting. Water can make the nail temporarily feel different, and repeated or prolonged contact with water can contribute to splitting. Mayo Clinic's nail-care guidance recommends keeping nails dry and clean, which is a sensible baseline for any polish routine.
- Trim straight across. Use sharp manicure scissors or clippers and take off only the length that catches on fabric or hair. Straight-across trimming gives you a clean starting shape without repeatedly sawing at the tip. If your nails are already short, a few small cuts are more controlled than trying to remove everything in one clip.
- File the corners into a gentle curve. Once the length is even, soften the corners with light strokes rather than aggressively thinning the sides. I prefer a modest rounded shape for nails that feel fragile because it looks polished while minimizing sharp edges that can snag. Keep the file moving in one direction when possible, and stop as soon as the edge feels smooth.
- Respect the cuticle boundary. Do not bite, pick, or scrape the cuticle. Those habits can damage the nail bed, and a small cut beside the nail can create an opening for germs. Leave the boundary intact, then tidy only what is visibly loose or distracting. For a hangnail, use clean clippers to gently clip it rather than pulling it away.
- Plan around water and cleaning. Give the manicure a dry window instead of applying polish immediately after a long bath, shower, or dishwashing session. For dishes, cleaning, or harsh chemicals, cotton-lined rubber gloves are a practical buffer. They also make it easier to keep freshly shaped nails from becoming soft and catch-prone during chores.
- Moisturize after exposure. Rub hand lotion over the nails and cuticles after washing or sanitizing, giving extra attention to the sidewalls and tips. Keep the layer light before polish so the surface is not slick, then moisturize again once the manicure is finished. When you are ready to paint, the guide to make nail polish last longer is a useful next step for application and wear habits.
Take the extra minute to check each edge in daylight. If a corner still catches, smooth that one spot rather than reshaping the entire nail. That small restraint is often what keeps a simple manicure looking refined.
How to Apply Color Without Making Weak Nails Feel Fragile
My favorite manicure trick for delicate-looking nails is also the least dramatic: use less pressure. A heavy brush hand, thick puddles of polish, and rushing the dry time can make a simple color application feel rough before the day has even begun. The goal is a light, even finish that follows the shape of the nail rather than asking the nail to tolerate a lot of manipulation.
Let the brush do the work
Start with a clean, fully dry surface and a base coat if that is part of your routine. Wipe one side of the brush against the bottle neck, leaving a controlled bead on the other side. Place the brush slightly away from the cuticle, then glide it toward the base without pressing into the skin. A central stroke followed by one on either side is usually enough. If the brush drags, do not keep correcting the same patch. Let the coat settle and address coverage with the next layer.
Thin coats are more forgiving than one thick coat. They give you better control around the cuticle line and reduce the temptation to push the brush back and forth. Wait until the first layer feels set before applying the second. "Almost dry" is not the same as dry enough for another coat. And patience here prevents dents, ridges, and accidental lifting.
Cap the edge, then stop touching it
Once the surface coat is in place, lightly sweep the remaining polish across the free edge. This edge-capping technique is a small finishing detail, not a guarantee that color will never wear. Keep the motion gentle and avoid repeatedly scrubbing the tip. If color floods the sidewall or cuticle, clean it with a small brush or wrapped tool rather than peeling it away with a fingernail.
Drying time deserves the same restraint. Keep your hands still, avoid hot water immediately afterward, and resist testing the finish with another nail. A glossy finish can make a short manicure look sleek and reflective. While a sheer wash keeps the natural nail visible and softens the contrast as the color grows out. My preference for shorter nails is a translucent nude, rosy pink, or another shade that looks intentional even when the tip is barely extended. If you want more definition, choose a tidy, opaque color and keep the application line narrow and clean.
Color direction can make the result feel considered without becoming complicated. Nude Envie organizes shades by warm, cool, and neutral preferences, so you can choose a tone that harmonizes with the rest of your look. The most polished manicure is rarely the loudest one. It is the one with an even surface, a calm shape, and no evidence that you hurried the final ten minutes.
Can Nail Strengthening Polish Really Help?
It can help your manicure feel more considered, but the word "strengthening" deserves a little skepticism. Polish sits on the surface of the nail. It may create a cosmetic layer, smooth the look of minor unevenness, or make you more mindful about protecting your hands. It cannot promise to repair peeling layers or resolve an underlying nail concern.
There is a useful distinction between a product's label and your actual goal. If you want a neat, low-effort finish while your nails grow, choose a polish or base that applies evenly and feels comfortable in your routine. If you are hoping to change the condition of the nail itself, polish is not a substitute for professional advice. Mayo Clinic notes that a nail hardener might help strengthen nails, but that cautious wording matters. It is not a guarantee, and every formula should be judged by its verified claims rather than its most persuasive front-label phrase.
| Choice | What it may offer | Limitation to keep in mind |
|---|---|---|
| Color polish | A polished-looking surface, visual coverage, and an easy way to enjoy a sheer or natural shade. | It improves appearance only. Chipping, removal, or picking can still add unnecessary stress to the routine. |
| Base coat | A preparatory layer between the natural nail and color, with a smoother canvas for application. | It is a manicure step unless the exact product carries a substantiated treatment claim. Do not assume every base coat strengthens. |
| Treatment-labeled product | A focused option for shoppers who want to follow a specific, clearly stated product routine. | Labels vary, and results are not instant. Editorial coverage describes strengtheners as products that require consistency, not miracles: read the context behind that expectation. |
| Bare-nail pause | A simpler period for observing your nails, moisturizing, and reducing polish and remover steps. | Going bare does not diagnose or cure anything. It simply removes cosmetic layers while you reassess your habits. |
My preference is to treat "strengthening" polish as one optional part of a gentle manicure, not the centerpiece. A sheer pink or quiet nude can give a tidy result without turning nail care into a promise of transformation. For product examples, see these polish ideas for peeling nails, then select by finish and comfort rather than assuming a claim applies to every nail.
Removal and Maintenance: The Part That Protects Your Routine
A manicure can look immaculate on day one and still become a little rough around the edges by day five. My preference is to remove it before peeling polish turns into something tempting to pick. That small decision matters more than trying to rescue a lifting corner with another layer of color.
Mayo Clinic recommends limiting nail polish remover and choosing a formula without acetone. That does not mean removal has to become a long, aggressive scrubbing session. Saturate a cotton pad, hold it against the nail briefly, then wipe in one direction with patient, light pressure. If color remains at the sidewalls, use a fresh corner of the pad rather than scraping the surface.
For a more detailed walkthrough, see this guide to remove polish without acetone. The aim is a clean reset, not a perfectly bare nail at any cost. If polish has begun to lift, resist pulling it away. Picking can take more than the visible color with it and can leave the surface feeling uneven.
Moisture is part of the manicure
Removal is only half of the maintenance routine. Cleveland Clinic notes that repeated washing and sanitizing can dry nails and make them brittle. The practical response is not to avoid hand hygiene, but to replace some of the moisture lost during the day. Apply hand cream around the nails and cuticles after exposure to water or hand sanitizer. Allow it a moment to sink in before touching fabrics or a keyboard.
At bedtime, make hand cream the final step. A richer cream massaged over the hands, nail plates, and cuticles gives the routine a calm closing ritual. I especially like this at night because there is no rush to handle anything immediately afterward. If you use a nail conditioner, check its ingredient label carefully and avoid one containing alcohol if dryness is a concern. Cleveland Clinic cautions that alcohol can dry the nail further.
Keep the next manicure deliberately simple
While nails are catching or peeling, keep them shorter so there is less length to snag on clothing or tug against everyday tasks. Choose a clean, understated finish that makes a tidy shape feel intentional, then remove it when the edges begin to lift instead of layering over the problem. For inspiration around clean nail polish choices, focus on the finish and label information you can verify, rather than treating any polish as a cure or clinical fix.
A gentle removal habit, brief daily moisturizing, and a shorter shape create a more forgiving cycle. The polish remains the cosmetic part of the routine; the care between manicures is what keeps the ritual comfortable and considered.
When Should You Pause Polish and Ask for Advice?
There is a point in any manicure routine when the most polished choice is to stop covering the nail and take a closer look. Color can make it harder to notice a change underneath, especially when you wear several layers or refresh the same shade before removing the old one. If something looks or feels distinctly different from your usual nails, a short pause from polish is sensible. It gives you a clearer view and avoids treating a potentially important change as a purely cosmetic concern.
Look more closely if you notice a color change across the whole nail or a dark streak beneath it. A new change in thickness also deserves attention, whether the nail seems thinner, thicker, or simply different in texture than the surrounding nails. These are not reasons to panic, and they are not a basis for diagnosing yourself. They are useful signals to discuss with a primary healthcare professional or dermatologist, as recommended by Mayo Clinic.
Changes that deserve a professional opinion
- Color changes affecting the whole nail or a dark streak under the nail.
- New thinning or thickening that does not feel typical for you.
- The nail separating or pulling away from the surrounding skin.
- Bleeding around the nail.
- Swelling or pain around the nail.
If any of these signs are present, remove polish gently if you can do so without picking or scraping, then leave the nail uncovered while you arrange advice. Do not aggressively buff the surface to make it look more even. Do not use a strengthening product as a substitute for an assessment. Your goal is simply to preserve what you can observe and avoid adding unnecessary stress to the nail.
It is also worth resisting the urge to identify the cause from a photograph or a quick online search. Clinical nail findings can overlap between different conditions, which means similar-looking changes may not have the same explanation. The review in the clinical literature notes that this overlap can contribute to misdiagnosis and treatment delays. A professional can decide what, if anything, needs follow-up.
While you wait, keep care uncomplicated: clean and dry nails, gentle handling, and no picking at peeling areas. Nail care techniques that minimize further damage are an important part of managing a nail concern, but polish itself is only a cosmetic finish. Once the nail looks and feels comfortably back to its normal pattern, you can return to nail polish for weak nails with thin coats and a removal routine that feels gentle. For the specific warning signs above, however, advice comes before another color.
Mayo Clinic's nail-care guidance recommends speaking with a healthcare professional or dermatologist about these changes. That is a calm precaution, not a diagnosis, and it is the most useful next step when your nails are telling you something has changed.
Book a virtual beauty consultation before choosing your next shade if you would like personal color guidance.
Frequently Asked Questions
What is the best nail polish for weak brittle nails?
Start with the finish and routine you can wear comfortably, rather than trusting the word "strengthening" on a label. Sheer nude or soft pink polish can give a polished look with less visual emphasis on peeling edges, while a clear coat keeps the manicure understated. Choose a formula whose claims and ingredients you can verify, then apply it to clean, dry, gently shaped nails.
Do nail strengthening polishes really work?
They may make the nail feel firmer or add a cosmetic layer, but nail polish should not be treated as a cure or repair for peeling nails. Even a product labeled as a hardener has to be judged by its documented directions and claims. Mayo Clinic notes that applying a nail hardener might help strengthen nails, but persistent changes deserve professional guidance rather than repeated product experiments.
How can I make my weak nails strong again?
Keep the routine gentle and consistent: shorten nails while they catch, file without sawing aggressively. Moisturize nails and cuticles after washing, and avoid picking at polish or peeling layers. Repeated water exposure and frequent washing can contribute to splitting or brittleness. Cotton-lined rubber gloves are a sensible choice for cleaning. These are care habits, not a promise to treat an underlying condition.
Do you prefer clear treatment or colored polish?
My preference depends on the manicure goal. Clear polish is discreet and makes a neat finishing layer, while a sheer, natural-looking color adds more visual polish without requiring a bold shade. Neither option should be presented as a treatment. If you notice a dark streak, whole-nail color change, new thinning or thickening, separation, bleeding, swelling, or pain, pause cosmetics and ask a healthcare professional for advice.
Ready to Choose Your Next Nail Color?
A considered shade can make a manicure feel polished without asking your nails to do more than they can comfortably manage. Browse the Nude Envie nail lacquer collection to explore a curated range of finishes and color directions, then return to the care habits that keep the ritual comfortable.