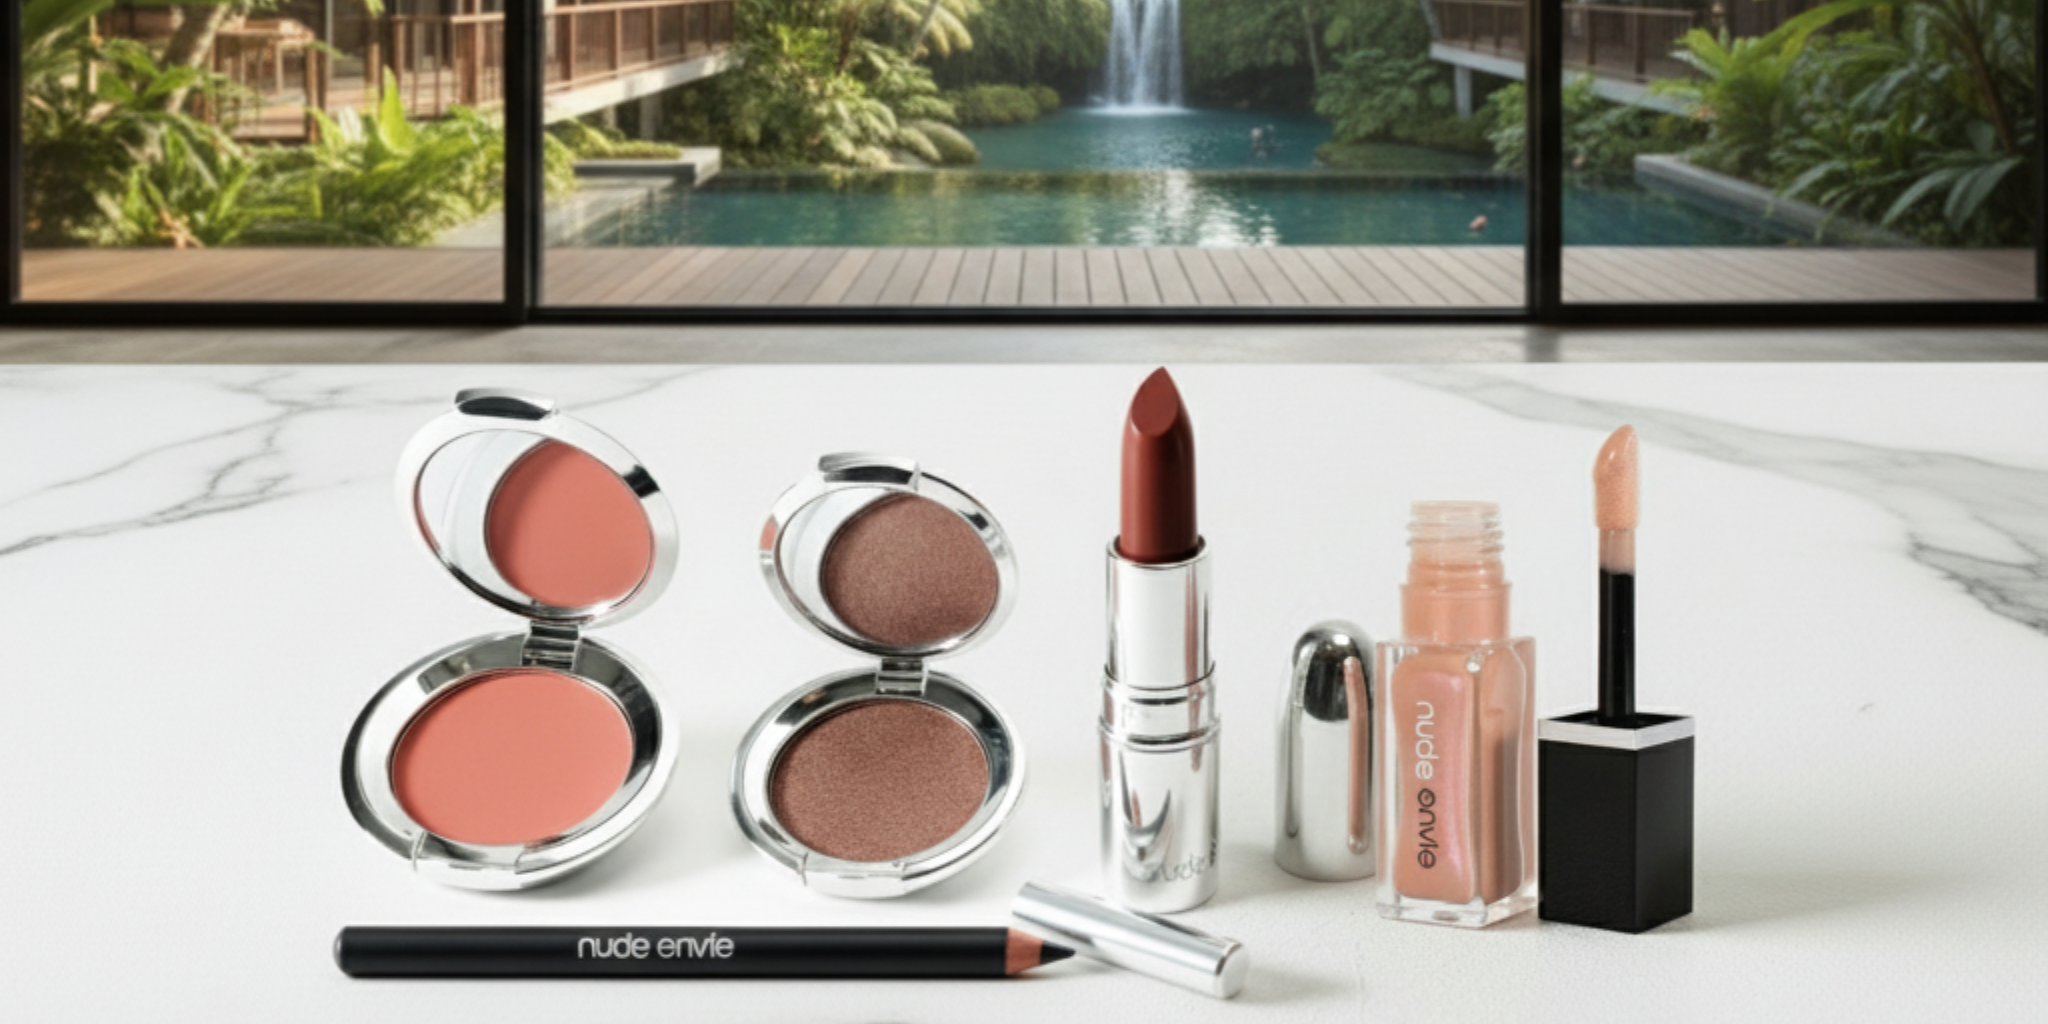
How to Make Lip Liner Last All Day: A Pro Guide

We all want makeup that works as hard as we do, and that means we don’t have time for constant mirror checks. A perfectly defined lip can make you feel put-together and confident, but that feeling fades the moment you start worrying if your liner has smudged or disappeared. The goal is a look you can apply once and then forget about. The good news is that achieving this doesn’t require a complicated, time-consuming routine. The answer to how to make lip liner last all day is found in a few simple, strategic steps that lock your color in place. These techniques create a durable, smudge-proof finish that gives you the freedom to focus on your day, not your makeup.
Key Takeaways
- Proper Prep is Everything: Your lip liner needs a smooth, hydrated surface to grip onto. Always start by gently exfoliating your lips and applying a thin layer of balm—blotting away any excess—to prevent a patchy application that fades quickly.
- Fill In, Don't Just Outline: For a look that lasts, use your liner to color in your entire lip, not just the edges. This creates a durable, pigmented base that helps your lipstick adhere better and ensures the color wears off evenly throughout the day.
- Layer and Set to Lock in Color: The key to bulletproof wear is layering. After applying your liner and lipstick, blot with a tissue and lightly dust a translucent powder over your lips. This simple step absorbs excess oil and sets your look for hours.
Why Your Lip Liner Disappears (And How to Stop It)
It’s one of makeup’s most frustrating mysteries: you meticulously apply your lip liner, creating the perfect shape, only for it to vanish an hour later. If you’ve ever found yourself wondering where it all went, you’re not alone. This disappearing act happens to everyone, regardless of whether you’re using a drugstore find or a high-end favorite. The truth is, several factors are working against your perfectly defined pout from the moment you apply it.
The good news is that you can absolutely make your lip liner last from your morning coffee to your evening cocktail. The solution isn’t just about finding one magic product; it’s about understanding the three main reasons your liner fades and making small adjustments to your routine. Think of it as a simple equation: your daily habits + the condition of your lips + your product formula = how long your liner lasts. Once you know what you’re up against, you can use the right techniques to lock in your look. We’ll walk through what causes liner to fade and introduce simple, effective strategies to give your lip look serious staying power. Many of our best sellers are designed with longevity in mind, giving you a head start.
What Causes Lip Liner to Fade?
The most common reason your lip liner fades is simply daily life. Every time you sip a drink, eat a meal, or even just talk and press your lips together, you’re creating friction that breaks down the product. Oils from food and moisture from drinks are particularly effective at dissolving makeup, causing your sharp lines to soften and disappear. This process happens gradually, so you might not notice it until you check a mirror and realize your defined lip has blurred into a soft wash of color. It’s a completely normal part of wearing makeup, but with the right prep and products, you can significantly slow down the fade.
How Your Lip Chemistry Plays a Role
The condition of your lips is the foundation for your entire look. Think of it like painting a wall—you wouldn't start without smoothing the surface first. If your lips are dry, chapped, or flaky, the liner has nothing to grip onto. Instead of gliding on smoothly, it will catch on dry patches, resulting in an uneven application that flakes off quickly. For liner to last, it needs a smooth, hydrated canvas. Well-moisturized lips allow the pigment to adhere evenly and stay put for hours. If you're struggling with lip prep, a virtual beauty consultation can offer personalized tips to get your lips in perfect shape for liner application.
Why the Right Product Formula Matters
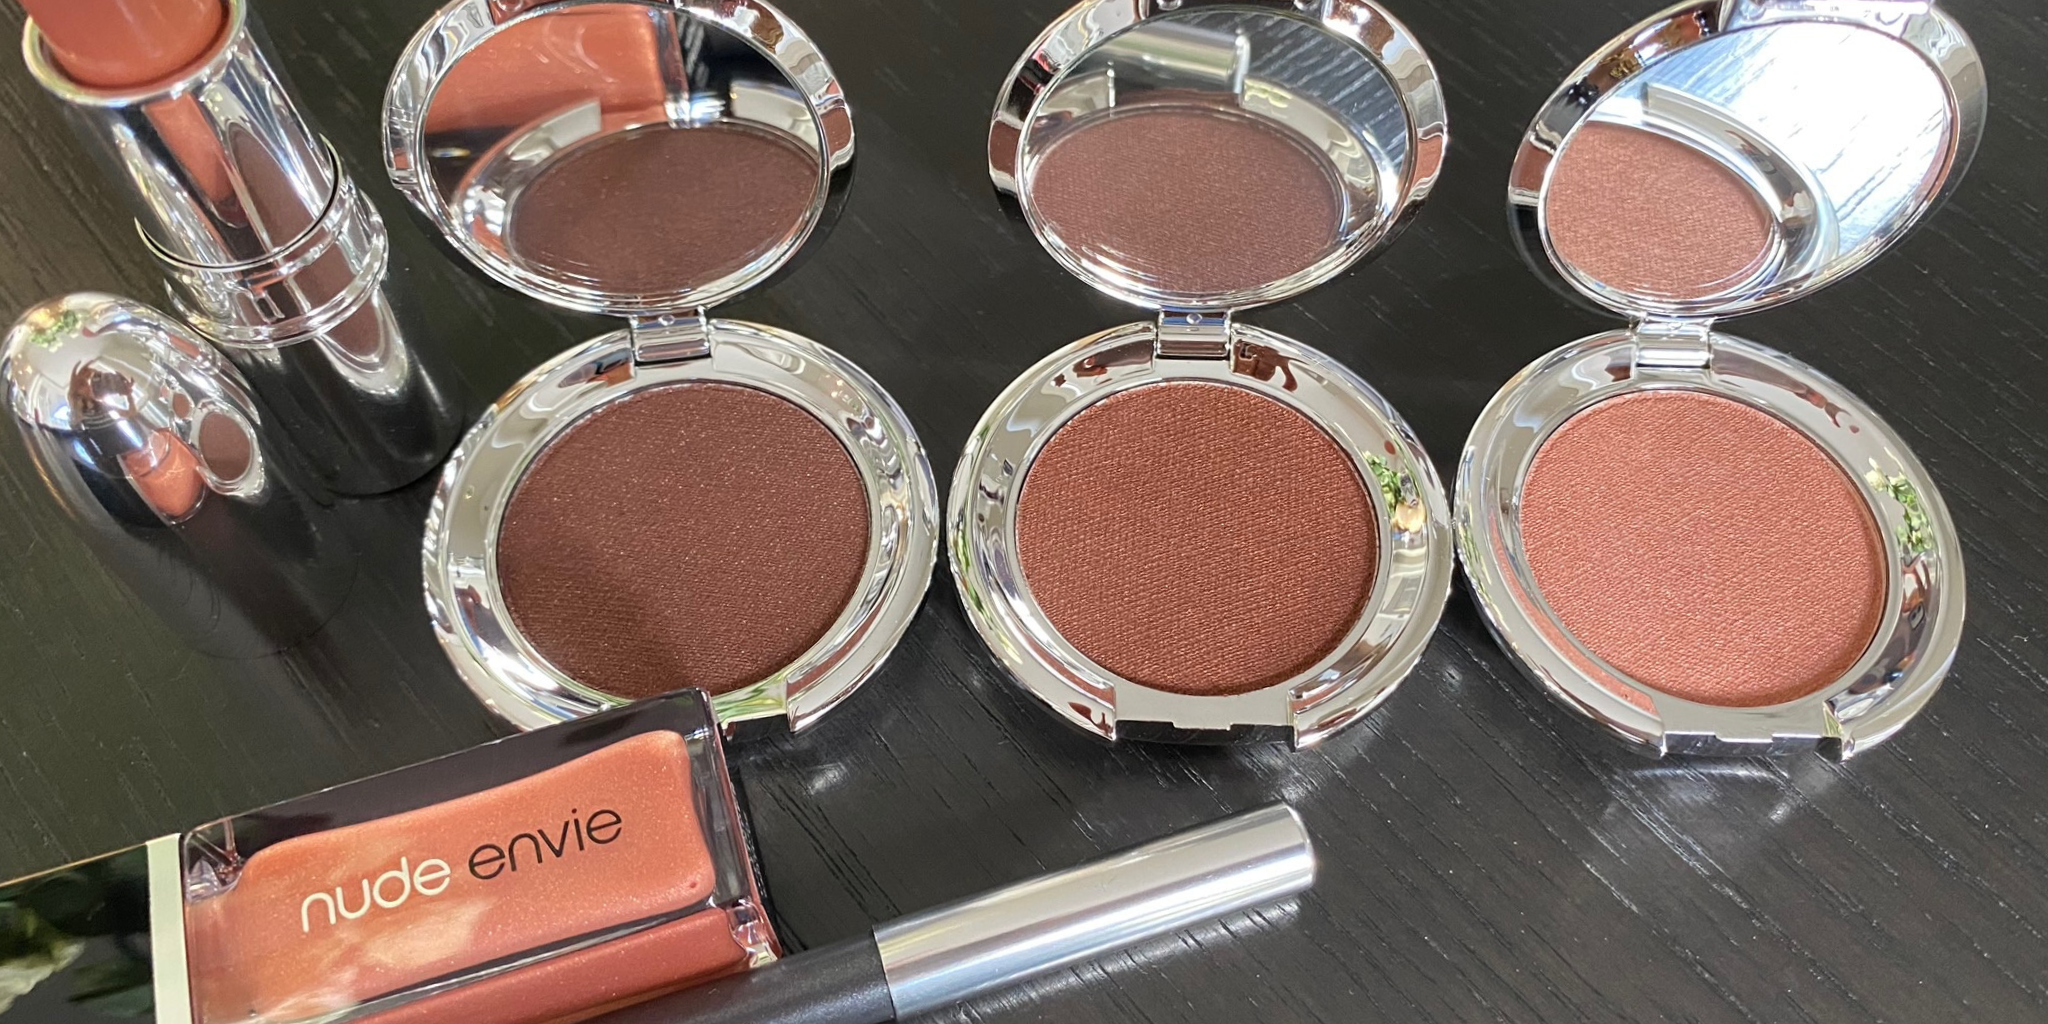
While application is key, the formula of your lip liner plays a massive role in its longevity. Not all liners are created equal. You want to look for formulas that are creamy enough to apply without tugging but durable enough to set in place. Modern liners are often designed to be long-wearing, smudge-proof, or even waterproof, offering much more staying power than older, waxier pencils. It’s also important to consider how your liner works with your lipstick. Pairing a long-wear liner with a hydrating, creamy lipstick collection creates a powerful duo that looks beautiful and lasts all day.
Prep Your Lips for Lasting Liner
Think of your lips as a canvas. Before you create a masterpiece, you need to make sure the surface is smooth and ready for color. A little prep work is the secret to getting that crisp, defined line that stays put all day. Skipping these steps is often why liner fades or feathers. Taking just a few extra minutes to prepare your lips will make a world of difference in how your liner applies and lasts. If you’re ever unsure about the best prep for your needs, a virtual beauty consultation can offer personalized tips.
Exfoliate the Right Way
The first step to a flawless application is getting rid of any dry, flaky skin. Applying liner over a rough surface leads to a patchy, uneven line that won’t last. Gently scrub your lips with a dedicated lip exfoliator or even a soft, damp toothbrush moving in small circles. This creates a perfectly smooth canvas, ensuring your lip liner glides on effortlessly without catching on any dry spots. You’ll immediately notice how much cleaner your application looks and how much better the color adheres to your lips.
Hydrate Without the Slip
Hydration is key, but there’s a trick to it. You want to moisturize your lips without creating a slippery surface that causes your liner to slide right off. After exfoliating, apply a very thin layer of a nourishing lip balm. Let it sink in for a minute, then take a tissue and gently blot away any excess. This leaves your lips feeling soft and hydrated but with a perfect, non-greasy finish for your liner to grip onto. This single step prevents smudging and helps lock your liner in place.
Prime for a Perfect Finish
Just like you use a primer on your face to help your foundation last, a lip primer does the same for your lip color. It’s the final, game-changing step in your prep routine. A good lip primer creates a smooth base that fills in any fine lines and gives your lip liner something to hold onto. Simply apply a small amount over your lips before you start lining. This not only enhances the longevity of your liner but also helps the color appear more vibrant and true.
Choose the Right Long-Wear Formula
The secret to lip liner that stays put isn't just about application—it starts with the product itself. Choosing the right formula is like building a strong foundation; without it, everything else will eventually crumble (or in this case, smudge). The market is filled with options, from waterproof pencils to creamy crayons, and each one behaves differently. Understanding these differences is the first step to finding a liner that works for you, not against you.
Think about your daily needs and personal preferences. Do you need a liner that can survive a long work day and happy hour, or are you looking for something comfortable for a few hours of wear? The ingredients, texture, and color all play a huge role in both the final look and its staying power. Let’s break down what to look for so you can confidently pick a liner that will last from your morning coffee to your evening cocktail.
Waterproof vs. Regular: What's the Difference?
The main distinction here is staying power. Waterproof lip liners are specifically formulated to resist moisture, which means they’re your best friend for humid days, emotional events, or meals that might otherwise cause smudging and fading. They create a durable barrier that keeps your lip color locked in place. Regular liners, on the other hand, are often creamier and more forgiving during application. While they might not have the same resilience as their waterproof counterparts, they can be more comfortable for everyday wear if you don’t need maximum longevity.
Look for These Long-Lasting Ingredients
When you’re scanning the ingredients list, a few key players signal a long-lasting formula. Many high-quality liners include nourishing oils like jojoba oil, which ensures the formula glides on smoothly without drying out your lips. At the same time, look for ingredients that provide grip and adherence, helping the liner bond with your lips for extended wear. A well-formulated liner strikes the perfect balance between hydration and staying power, giving you a comfortable feel and a look that lasts. This ensures your liner complements your favorite lipsticks perfectly.
Find the Right Liner Type for You
Lip liners generally come in a few different textures, and your choice can impact how long your look lasts. Waxy formulas tend to be the most durable, creating a strong, defined line that holds lipstick in place for hours. Creamy formulas feel more comfortable and hydrating on the lips but can be more prone to smudging if you’re not careful. Gel-based liners offer a modern alternative, providing the smooth glide of a creamy pencil with the staying power of a waxy one. Consider what feels best on your lips and what fits your lifestyle.
How to Match Your Perfect Color
For the most natural and polished look, your lip liner should be a close match to either your natural lip color or your chosen lipstick shade. Matching it to your lips creates subtle definition and makes them appear fuller without any harsh lines. If you’re pairing it with a lipstick, selecting a corresponding liner shade ensures a seamless blend and prevents the color from bleeding. When you build your own collection, finding that perfect liner-lipstick duo becomes simple and ensures a cohesive, long-lasting look.
Apply Your Liner Like a Pro to Lock in Color
You’ve prepped your lips and picked the perfect long-wear formula. Now comes the fun part: the application. How you put on your lip liner makes all the difference between a look that lasts through lunch and one that stays put until your final sip of wine at dinner. It’s not just about tracing a line; it’s about creating a solid, pigmented foundation for your lipstick to cling to. These techniques will help you define your lips beautifully and create a base that seriously extends the life of your lip color, preventing feathering and fading.
Outline Your Lips Perfectly
First things first, a sharp pencil is your best friend for a crisp, clean line. Start at the Cupid’s bow—that little ‘V’ on your top lip—and use light, feathery strokes to trace its shape. From there, continue outlining the rest of your upper lip, following your natural lip line. Do the same for your bottom lip, starting from the center and working your way out to the corners. Using a creamy, precise lip liner makes this step feel effortless. The goal here is to create a defined border that not only enhances your shape but also acts as a barrier to keep your lipstick from bleeding.
Fill In for Maximum Staying Power
This is the step that truly separates the pros from the amateurs. Once you’ve finished outlining, don’t just stop there—fill in your entire lip with the same liner. Use the side of the pencil to gently color everything in, creating a solid base of color. This technique does two amazing things: it gives your lipstick something to grip onto for incredible staying power, and it ensures your color fades evenly. You’ll never be left with that awkward, empty ring around your mouth as the day goes on. Instead, your lip color will wear away gracefully, leaving a soft stain behind.
Work with Your Natural Lip Shape
The most beautiful makeup enhances what you already have. While it can be tempting to overline for a fuller look, the key to long-lasting liner is to work with your natural lip shape. A slight overline just outside your vermilion border can add subtle volume, but going too far can look obvious and wear off unevenly. Focus on defining the shape you have. If you’re unsure how to best flatter your features, getting personalized advice from a virtual beauty consultation can be a game-changer. A clean, well-defined outline that respects your natural shape will always look more polished and last longer.
Layer for a Lasting Look
Layering is the ultimate secret to bulletproof lip color. After you’ve outlined and filled in your lips with liner, apply a thin coat of your favorite lipstick. Blot gently with a tissue to remove any excess oil. Now for the magic trick: separate a tissue into a single ply, lay it over your lips, and lightly dust a translucent setting powder over it. This sets the color without making it look dry or cakey. Finish with one more layer of lipstick. This multi-step process locks everything in place, giving you a vibrant, smudge-proof look that will last for hours.
Pair Products for All-Day Wear
Think of your lip liner as the foundation of your lip look—it needs the right partners to truly shine and stay put. The products you layer with your liner are just as important as the liner itself. By strategically pairing your liner with other makeup staples, you create a multi-layer defense against fading, smudging, and feathering. It’s not about piling on products, but about using the right ones in the right order to create a seamless, long-lasting finish. From the prep to the final touch, each step builds on the last to lock in your color for hours. Let’s walk through the simple techniques that will make your lip look last from your morning coffee to your evening cocktail.
Start with the Right Base
Getting your lips ready before applying liner is crucial for longevity. A smooth canvas helps the product adhere better and wear more evenly. Start by gently scrubbing your lips to get rid of any dry, flaky skin that could cause a patchy application. Afterward, apply a very thin layer of a hydrating lip balm to keep them soft and supple. The key here is "thin layer." Too much balm will make your lips slippery, causing the liner to slide right off. After letting it sink in for a minute, be sure to blot away any excess with a tissue. This leaves you with a perfectly prepped, hydrated, yet grippy surface for your liner.
Set Your Liner with Powder
This is a classic makeup artist trick for a reason—it works. After you’ve outlined and filled in your lips with liner, setting it with a bit of powder can dramatically increase its staying power. Take a small, fluffy brush and lightly dust a translucent setting powder over your lips. This step mattifies the liner, absorbs any excess oils, and creates a dry surface for your lipstick to cling to. It acts as a primer for your lipstick, ensuring the color stays vibrant and locked in place. Don’t worry about it looking chalky; the lipstick or gloss you apply over it will blend everything together beautifully.
Use Setting Spray to Lock It In
Just as you’d use a setting spray to keep your face makeup from melting, a light mist over your lips can work wonders. This is the final step to seal the deal. After applying your liner and lipstick, hold a setting spray about eight to ten inches from your face, close your eyes and mouth, and give a quick, light spritz. Let it dry completely without touching your lips. The spray forms a flexible, invisible film that helps lock everything in place, making your lip color more resistant to transferring while you eat and drink. It’s a simple, quick step that adds an extra layer of security to your look.
Select a Complementary Lipstick
The final piece of the puzzle is choosing the right lipstick or gloss to go over your liner. For maximum endurance, apply a long-lasting lipstick in a shade that matches or complements your liner. Filling in your entire lip with liner first creates a solid base, so even if your lipstick starts to wear off, the liner underneath keeps your lips looking defined. If you prefer a shinier finish, you can top your lipstick with a touch of lip gloss in the center of your lips. Using products with compatible formulas ensures they work together to create a cohesive, durable look that feels comfortable all day.
Maintain Your Look All Day
You’ve perfected your lip look, and the last thing you want is for it to vanish after your morning latte. Keeping your lip liner sharp and your color vibrant all day doesn’t require a makeup artist on standby. It’s all about a few smart techniques and mindful habits that fit right into your daily routine. From navigating lunch meetings to braving the elements, these simple strategies will help you preserve your look with minimal effort, ensuring your lips look just as flawless at 5 p.m. as they did at 9 a.m. Let’s get into how you can make your lip liner work as hard as you do.
Touch Up Without Starting Over
A fading lip line doesn’t mean you have to wipe everything off and begin again. For a quick fix, gently blot your lips and re-apply a thin layer of liner just where it’s needed. One of the best tricks is to set your liner from the start. After applying your liner, lightly dust a translucent powder over it before adding your lipstick. This creates a durable base that helps your color last for hours. For an even quicker refresh, a swipe of a complementary lip gloss can revive your look instantly, blending the remaining color and adding a touch of shine without a full re-do.
Eat and Drink Without Smudging
Let’s be real: meals are the ultimate test for any lip product. To keep your liner in place, simple adjustments can make a huge difference. Try sipping drinks through a straw to bypass direct contact with your lips. When eating, take smaller, more careful bites. Be especially mindful of oily or greasy foods, like salad dressings or pizza, as oil is the number one enemy of long-wear lip formulas and will break them down quickly. It’s not about skipping your favorite foods, but rather enjoying them in a way that keeps your perfectly defined lips intact for as long as possible.
Weather-Proof Your Lip Liner
Whether you’re dealing with summer humidity or biting winter wind, the weather can take a toll on your makeup. To make your lip liner more resilient, think in layers. A primer creates a smooth, grippy base, your liner adds definition and a layer of color, and a creamy lipstick seals it all in. For extra security, you can even use a makeup setting spray. This layering method builds a flexible but strong barrier that helps your lip look withstand whatever the day’s forecast throws at you. It’s your best defense for a look that stays put, rain or shine.
Adopt Habits for Longer Wear
The secret to all-day lip color often starts before you even pick up your liner. Consistently healthy lips provide the best canvas, so make gentle exfoliation and daily hydration part of your routine. Dry, flaky skin prevents liner from gliding on smoothly and adhering properly. Another key habit is to use your lip liner to color in your entire lip, not just the outline. This creates a pigmented base that grips your lipstick and ensures that as the top layer wears off, you’re left with a soft stain of color instead of a harsh, empty outline. This simple step makes a world of difference in the longevity of your best-selling lip combinations.
Avoid These Common Lip Liner Mistakes
Even with the best products, a few small missteps can cut your lip liner’s wear time in half. The good news is that these common mistakes are incredibly easy to fix. Once you know what to look out for, you can adjust your routine to ensure your perfectly defined lips stay that way from your morning coffee to your evening cocktail. It’s not about overhauling your entire process, but about making tiny tweaks that deliver a major impact.
Think of it as learning the secrets that makeup artists use to create flawless, lasting looks. By sidestepping these common pitfalls, you’ll get so much more out of your products and feel confident that your lip color is staying exactly where you want it. Let’s walk through some of the most frequent errors and how to correct them for a look that truly lasts.
Correct These Application Errors
Sometimes, the problem isn't the product but the process. A simple but game-changing trick is to set your liner before applying lipstick. After you’ve outlined and filled in your lips with your liner, take a fluffy brush and lightly dust a translucent face powder over them. This creates a matte, grippy base that your lipstick can cling to, preventing it from sliding around and breaking down the liner underneath. It’s an extra ten seconds that can add hours to your wear time. This step ensures your favorite lipsticks have the perfect canvas to adhere to for a truly long-lasting finish.
Steer Clear of Bad Product Combinations
What you layer over your liner matters just as much as the liner itself. While a glossy finish is beautiful, applying a lip gloss directly over your entire lip can cause the liner to dissolve and feather. The oils in the gloss can break down the waxy formula of the liner. Instead, apply gloss just to the center of your lips and gently blend it out with your finger, avoiding the very edge. Also, be mindful of what you eat. Oily foods are a notorious enemy of long-wear lip products, as the oil can cause even the most stubborn formulas to fade away.
Stop These Fading-Friendly Habits
We all have little habits that can sabotage our makeup without us even realizing it. Constantly pressing your lips together, touching your mouth, or resting your chin in your hand can transfer and smudge your lip liner. One of the easiest changes you can make is to sip your drinks through a straw. This simple swap minimizes contact and keeps your liner crisp and clean. By being more conscious of these small actions, you can preserve your lip look for much longer and reduce the need for constant touch-ups throughout the day.
Solve Common Liner Problems
When you need your look to be absolutely bulletproof, a setting product is your best friend. After applying your liner and lipstick, you can lightly dust your lips with a setting powder one more time. For even more staying power, hold a setting spray at arm's length, close your eyes and mouth, and give your face a light mist. This helps lock everything in place. If you do make a mistake or notice a smudge, don’t wipe it away. Instead, use a fine-tipped brush with a tiny bit of concealer to clean up the edge for a sharp, perfect line. Having reliable best sellers in your makeup bag is the first step to avoiding these problems altogether.
Make Your Liner Last for Special Occasions
When you have a big event on the calendar—a wedding, a gala, or just a long night out with friends—the last thing you want to worry about is your lip liner. You need a look that stays put through conversations, cocktails, and camera flashes. While your daily routine might be quick and simple, special occasions call for a few extra steps to make your lip color completely bulletproof. It’s all about creating a solid foundation and locking everything in place. Think of it as building a look layer by layer, ensuring each one supports the next for maximum staying power. With the right techniques, you can feel confident that your perfectly defined pout will last from the first toast to the final dance.
Pair Products for Maximum Endurance
The secret to truly long-lasting lip color is layering. Applying a single product and hoping for the best just won’t cut it for a 12-hour event. Instead, think of building your look with complementary products. Start with your primed lips, carefully apply your liner, and then fill in with a matching lipstick. This creates a rich, durable base of color. For an even more polished finish, you can find lipsticks designed to pair perfectly with your liner, creating a seamless and resilient look. Each layer reinforces the one before it, giving you a much more stable application that’s less likely to fade or feather as the day goes on.
Beat the Heat and Humidity
Hot and humid weather is the ultimate test for any makeup look. To keep your lip liner from melting away, a few strategic adjustments can make all the difference. If you’ll be eating, try to use cutlery when possible to minimize contact with your lips. For an extra layer of protection against the elements, try this classic makeup artist trick: apply one layer of lipstick over your liner, gently blot with a paper towel, then place a single ply of tissue over your lips. Lightly dust a translucent setting powder over the tissue. This sets the color without dulling the finish, helping it withstand humidity and heat.
Use These Extended-Wear Strategies
Setting your lip look is the final, crucial step for all-day wear. After applying your liner and lipstick, you can lightly dust a translucent setting powder directly onto your lips for a matte, locked-in finish. A setting spray can also work wonders; just hold it at a distance and give your lips a light mist. One thing to keep in mind is how different finishes interact. While a beautiful lip gloss can complete a look, its emollient formula can cause the liner and lipstick underneath to break down faster. For maximum longevity, stick to a satin or matte finish and save the gloss for moments when you don’t mind a quick touch-up.
Related Articles
- 12 Makeup Tips for Mature Skin for a Flawless Look | Nude Envie
- 9 Best Nude Lipsticks for Fair Skin (2025) | Nude Envie
- Ultimate Guide: Best Eye Makeup for Women Over 50 | Nude Envie
- How to Apply Eye Makeup for Over 60 Hooded Eyes | Nude Envie
- "Perfect" Lip Liner Pencil | Nude Envie Lip Liner | Nude Lip Pencil | Nude Envie
Frequently Asked Questions
I'm always in a rush. What's the single most effective trick for making my lip liner last longer? If you only have time for one thing, make it this: after outlining your lips, use the same pencil to fill them in completely. This creates a solid base of color that grips onto your lipstick and ensures everything wears away evenly. You'll never be left with that dreaded ring around your mouth, and your color will have so much more staying power.
Can I wear lip liner by itself without any lipstick? Absolutely! Wearing lip liner on its own is a great way to get a defined, matte look that lasts for hours. Just make sure you prep your lips properly by exfoliating and lightly moisturizing first. Then, outline and fill in your entire lip with the liner. The result is a polished, long-wearing color that won't budge.
My lips are naturally very dry. Will these techniques make them feel even drier? That's a great question, and the answer is no, as long as you prioritize prep. The key for dry lips is to start with a smooth, hydrated canvas. Gently exfoliate any flakes away and apply a nourishing lip balm. Let it absorb for a minute, then blot off the excess before you apply your liner. This ensures the liner glides on smoothly and feels comfortable, without sacrificing its staying power.
I've heard about setting lip liner with powder. Won't that make my lips look cakey? It's a valid concern, but this trick works beautifully when done correctly. The key is to use a very small amount of a finely milled translucent powder. After applying your liner, you can either dust it on with a fluffy brush or press it on through a single ply of tissue. This sets the color without adding texture. When you apply your lipstick over the top, it will look seamless and feel comfortable, not cakey at all.
What's the best way to choose a liner color? Should it match my lips or my lipstick? You have great options either way, and it really depends on the look you want. For the most natural definition, choose a liner that's very close to your own lip color. This is perfect for creating a fuller-looking pout without obvious lines. If you're wearing a bold or specific lipstick shade, matching the liner to the lipstick will create a seamless, cohesive look and prevent the color from bleeding.